Ombre Nails in Spokane Valley: Styles, Techniques & What to Expect
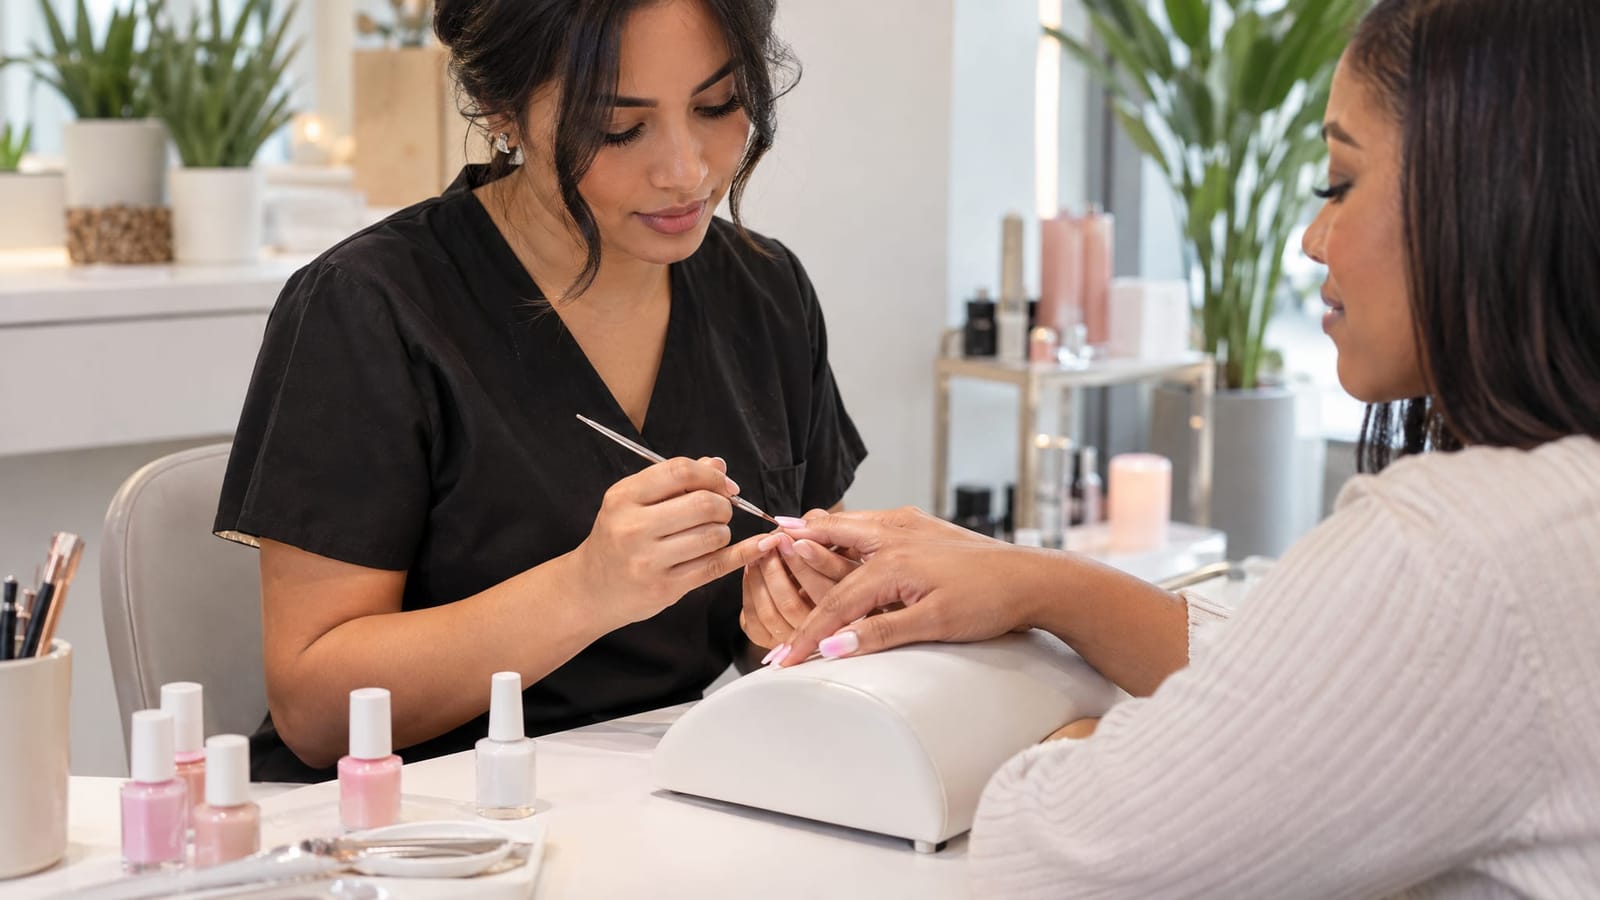
Ombre nails blend colors gradually, creating a soft transition rather than a sharp dividing line. The look can be understated, like a sheer pink fading into white, or expressive, like blue melting into pink with a glitter accent. Ombre describes the design, not the material underneath it, so choosing the right manicure starts with both the colors and the nail base.
At NailzByDelz Corp in Spokane Valley, we offer ombre nails alongside gel manicures, acrylic nails, sculpted nails and custom nail art. You do not need long extensions or a dramatic design to wear a gradient. A short, softly shaped set can carry the look just as intentionally.
The most useful decisions are which base suits your routine, how noticeable you want the fade to be, and how you want to maintain it. Here is how the techniques, colors, appointment details and upkeep fit together.
What Makes a Manicure Ombre?
A true ombre effect has a blended transition on the nail itself. The shades overlap through the middle so there is no abrupt boundary between them. Although many designs move from a lighter base to a darker tip, ombre can also blend two different colors or reverse that arrangement.
These related looks are worth distinguishing when choosing a reference photo:
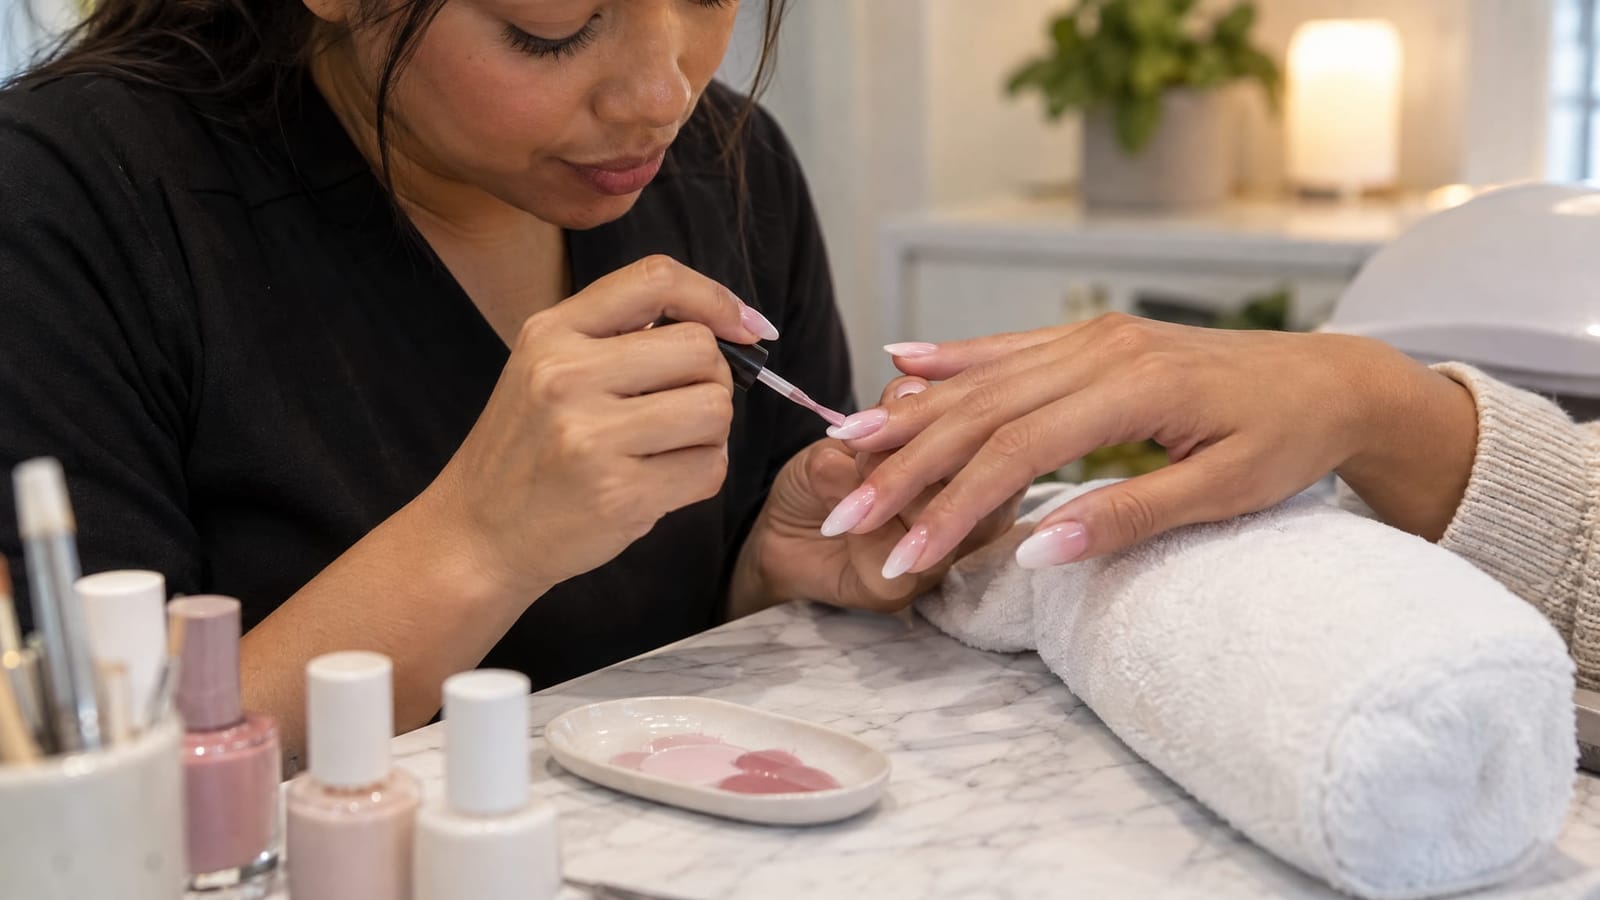
- French ombre: A pink, nude or sheer base fades into a white or milky tip. Unlike a traditional French manicure, it has no crisp smile line separating the tip from the base.
- Color ombre: Different shades blend along the nail, such as peach into coral or lavender into blue.
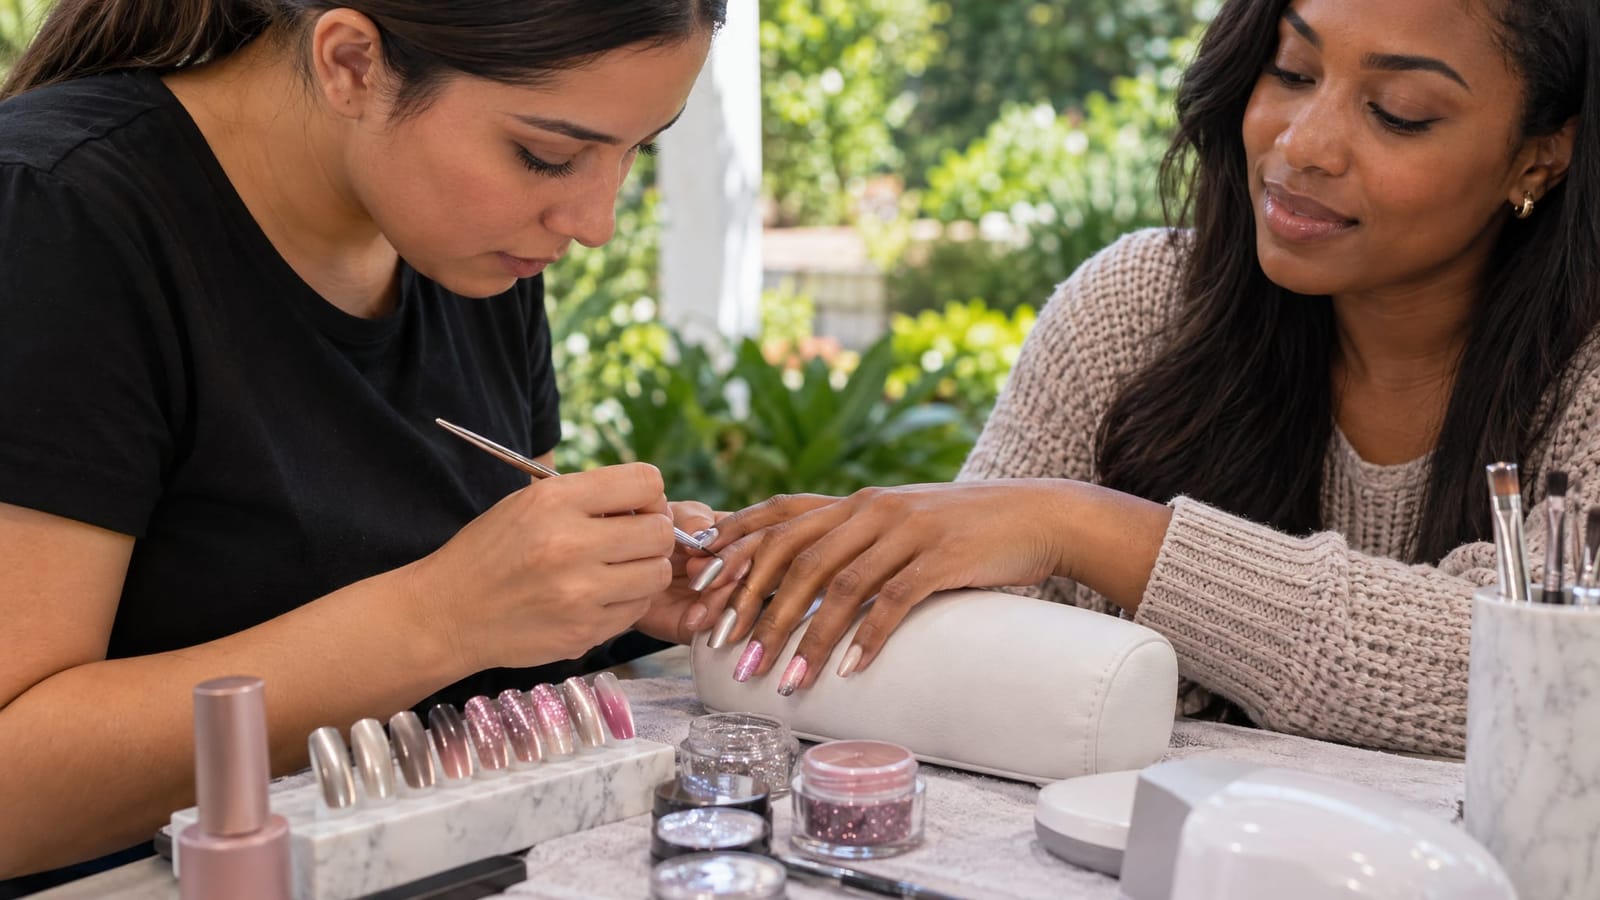
- Glitter ombre: Sparkle becomes gradually denser toward one area. The gradient comes from the placement of glitter rather than only from blended color.
- Aura nails: Color radiates from a concentrated area, often near the center. This creates a soft halo rather than a straightforward base-to-tip fade.
- A gradient across the hand: Each nail wears a different solid shade. The overall palette progresses from nail to nail, but each individual nail is not necessarily ombre.
A photo helps establish which effect you mean. It is also useful to identify whether you like the actual colors, the softness of the blend, or simply the overall shape.
Choose the Nail Base Before Choosing the Finish
The base determines how the nails are built and maintained. The gradient determines how they look. Keeping those decisions separate makes it easier to choose an appointment that fits your starting point.
Natural nails with regular polish
Ombre can be created with regular nail polish on natural nails. This keeps the design at your existing length and does not require an extension. It suits someone who enjoys changing colors rather than keeping the same enhancement in place.
Regular polish generally has a shorter wear period than a gel finish. It also needs drying time, including through the layers used to create the fade.
Natural nails with gel polish
A gel manicure adds color that is cured under a nail lamp. A gradient can be created over the natural nail without adding length, making this a useful option when you like your current shape but want a more detailed finish.
Gel polish and gel extensions are not interchangeable terms. A gel manicure does not automatically mean that the nail has been extended. A reference photo showing long nails may therefore involve a different base from the one needed for a short natural-nail version.
Acrylic nails
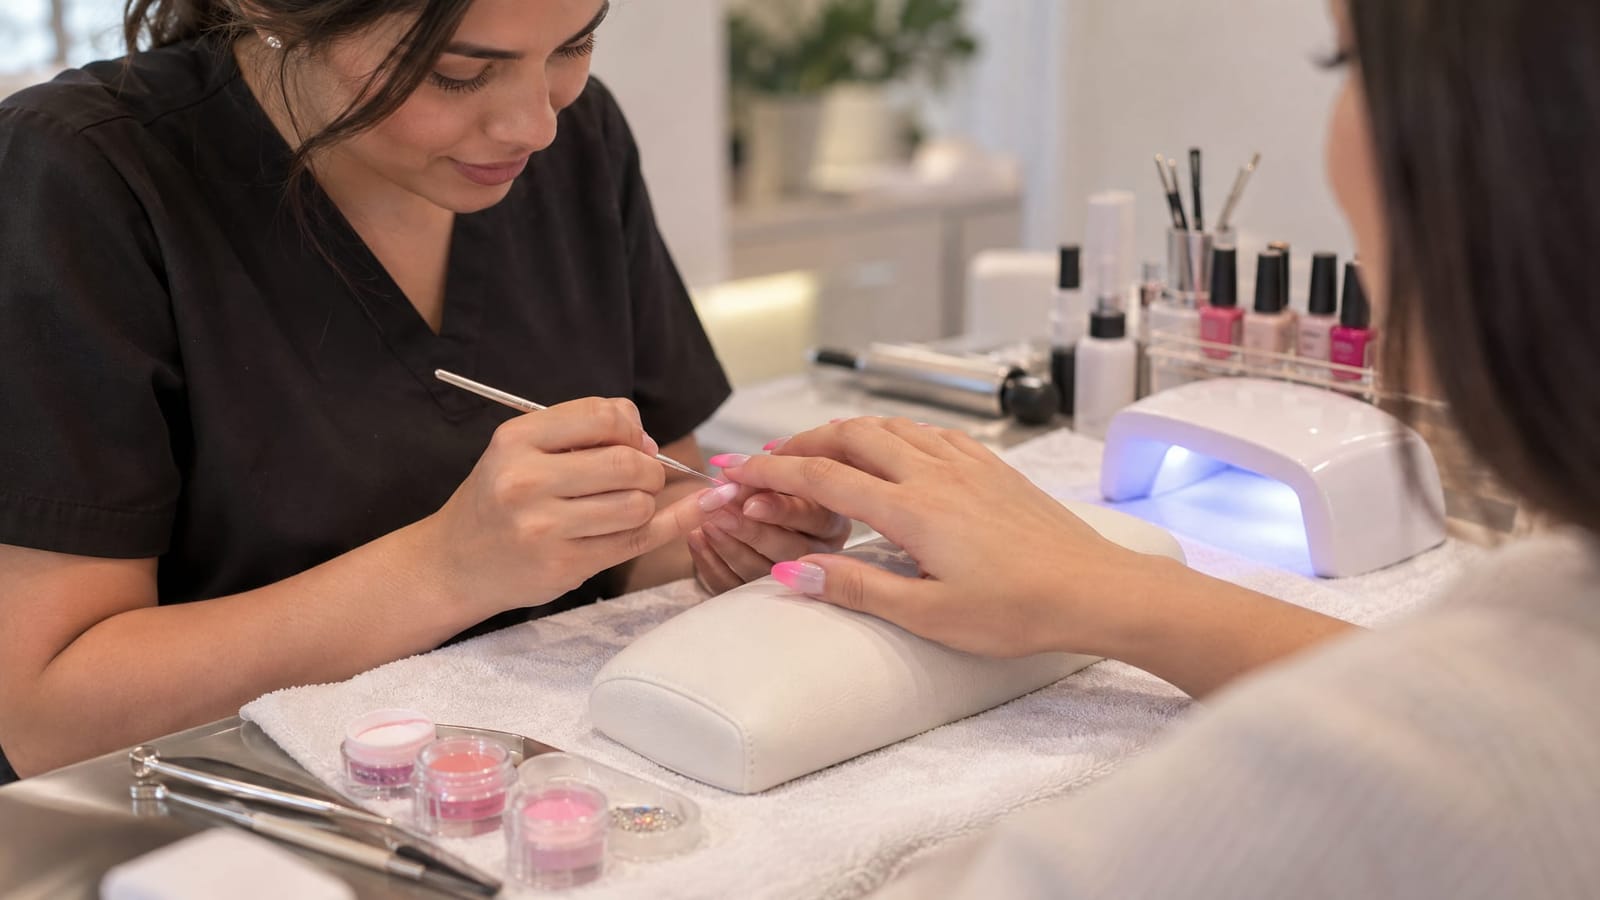
Acrylic can be used to build length and shape. An ombre design may be painted over the finished acrylic structure, or the fade may be created with different shades of acrylic during the building process.
That distinction matters for future color changes. A painted gradient sits over the structure, while a built-in gradient is part of it. A major redesign can involve more work when the existing color is within the enhancement.
Full-cover soft gel extensions, including GelX
GelX refers to a full-cover soft gel extension system. A pre-shaped tip covers the natural nail and provides the length and shape beneath the design. The ombre finish can then be applied over that surface.
This differs from sculpting a gradient with colored acrylic. It also differs from applying gel polish to natural nails, even though gel products are involved in both services. When comparing inspiration photos, look beyond the word “gel” and identify whether the image shows natural nails or extensions.
How Ombre Nail Gradients Are Created
The technique depends on the material, the colors and the intended finish. A barely visible pink-to-white fade requires different handling from a vivid, high-contrast blend. There is no single technique that produces every ombre look.
Sponge gradients
With regular polish, a sponge can transfer overlapping colors onto the nail in light layers. Repeated application builds the color while softening the point where the shades meet.
This method can create a diffused, misty transition. Because sponging can leave a textured appearance before finishing, controlled layering and topcoat are important to the final look. The goal is a smooth fade, not a thick coating that hides an uneven blend.
Brush-blended gradients
A brush can soften the boundary between colors, including gel colors before they are cured. The artist controls how far each shade extends and how much the colors overlap.
Brush placement is especially useful when the design needs a narrow transition, a diagonal fade or color concentrated near the tip. More blending is not always better. Overworking contrasting shades can muddy the middle instead of creating a clean transition.
Built-in acrylic ombre
With built-in acrylic ombre, the colored acrylic forms both the enhancement and the gradient. The artist places and blends the shades while developing the nail structure, then refines the shape and surface.
This approach connects the color placement closely to the finished nail. The transition needs to remain visible after shaping, so product placement matters before the finishing stage begins. It is different from completing a neutral acrylic set and painting a gradient over it.
What sculpting contributes to a cleaner-looking fade
Sculpting is part of our nail work at NailzByDelz. It allows the extension’s length and shape to be built with product, creating the canvas on which the design sits.
A balanced shape and an evenly refined surface support consistent color placement. They also help the fade look intentional from nail to nail. A wide tip, a narrow tip and a rounded tip each give the color transition a different visual frame.
Sculpting itself does not blend the colors. Cleaner-looking ombre comes from combining that foundation with controlled placement, blending and finishing. Both structure and artistry matter.
Choose Colors by Contrast, Not Just by Season
The contrast between shades often changes the mood of ombre nails more than the individual colors do. Two similar tones create a subtle wash. A pale base and a saturated tip make the transition more prominent.
These combinations provide useful starting points:
- Sheer pink and milky white: A soft French ombre for an understated everyday look or bridal styling. A translucent base feels lighter than an opaque pink.
- Blush and mauve: A tonal combination with more depth than pink and white, without a strong color break.
- Peach and coral: A warm palette that can stay delicate with a small coral tip or become brighter when the coral covers more of the nail.
- Lavender and pale blue: A cool pastel pairing. Keeping both shades similarly light gives the blend a gentle, watercolor-like appearance.
- Blue and pink: A more expressive combination. Pastel versions feel soft, while saturated shades create a bolder set.
- Burgundy and plum: A deeper tonal fade. The difference between the colors may be subtle, so the finish and placement help define the look.
- Nude or sheer pink with gold or silver glitter: A way to add sparkle without covering the entire nail in dense glitter.
Use seasonal palettes without feeling restricted by them
Pastels can suggest spring, brighter peach and coral can feel summery, and burgundy or plum can suit an autumn palette. Milky white with silver sparkle creates a winter-inspired finish. These are styling options, not rules about when a color belongs on your nails.
If you want a seasonal change without a completely different manicure, keep your preferred base and change only the tip color or glitter accent.
Decide where the strongest color belongs
A cuticle-to-tip fade is only one arrangement. A side-to-side blend emphasizes the width of the nail, while a diagonal transition adds movement. Reversing a French ombre places the lighter shade closer to the base instead of at the tip.
The amount of space given to each color matters, too. A small white tip reads differently from a nail that is mostly white with a narrow pink base. Describing that balance is often more useful than simply requesting “pink and white.”
Match the Gradient to Your Length, Shape and Style
Short nails can still show a soft transition
Short nails offer less space for multiple color changes, so a simpler palette usually makes the design easier to read. Closely related shades or a sheer base with a softly colored tip can create a clear effect without crowding the nail.
If you prefer regular-looking nails, start with a practical length, a rounded or softly squared shape, and a low-contrast fade. Ombre does not require extensions, pointed tips or embellishments.
Longer nails offer more room, not a requirement for more detail
Extra length provides a larger canvas for a gradual fade or additional artwork. Almond and stiletto shapes taper the design toward the tip, while square shapes give the tip color a wider edge.
Choose length with your routine in mind. A design that looks striking in a close-up photo still needs to feel manageable when typing, handling small objects or doing hands-on tasks. The same color combination can often be adapted to a shorter shape.
Let the ombre or the artwork take the lead
A gradient already creates visual movement. Adding flowers, dots, glitter and rhinestones all at once can make it harder to see the blend.
For example, a blue-to-pink fade with a small accent on one nail keeps the gradient prominent. The same palette with large floral artwork creates a more detailed, art-focused set. Neither approach is better, but they create different priorities.
We offer custom, hand-painted nail art, so an ombre design can be paired with a single accent or a more detailed painted set. The useful choice is how much of the underlying fade you want to remain visible.
What to Expect From an Ombre Nail Appointment
An ombre appointment involves more than selecting two colors. The existing product, desired length and type of gradient all affect the work involved.
- Establish the starting point. Bare natural nails, existing gel polish and an existing enhancement each require a different approach. Removal or repair adds work before the new finish begins.
- Choose the base and shape. Decide whether the design will stay at your natural length or sit over an enhancement. Shape comes before the final color placement.
- Set the design details. Identify the colors, fade direction, contrast and finish. Reference photos are most useful when you can explain which details you want to keep or change.
- Prepare and build the nail. The nail is prepared for the selected product, and any required structure is created. For built-in acrylic ombre, the gradient develops during this stage.
- Complete the blend and finishing details. Painted gradients and accent art are applied as appropriate to the base, followed by the finishing steps for that product.
What affects the price?
Cost comparisons are most useful when they describe the same service. A natural-nail gel manicure, a new acrylic set and maintenance of an existing acrylic set involve different work, even if all three use a pink-and-white gradient.
The appointment scope includes:
- The base service and whether length is being added.
- Existing product that needs removal or adjustment.
- The selected length and shape.
- The complexity of the gradient.
- Hand-painted details, glitter placement or embellishments.
- Any nails that need repair.
A simple fade and a fade covered with detailed artwork are not equivalent designs. A useful price estimate accounts for the complete set rather than only the word “ombre.”
What affects appointment length?
Preparation, extension building, detailed blending and additional art all contribute to appointment time. Existing product removal can also change the scope substantially.
A clear appointment description might be: “Short almond acrylic nails with a soft pink-to-white fade, existing gel polish to remove, and no additional artwork.” That communicates more than “ombre nails” alone and makes both time and price discussions more specific.
Keeping a reference photo and an alternative color pairing ready also helps separate the essential details from the parts you are flexible about.
How Long Do Ombre Nails Last?
Ombre is a design, so it does not have one wear timeline of its own. The base product, application, natural nail growth, length and everyday use determine how the manicure wears. The gradient does not automatically make regular polish, gel or acrylic last longer.
There are also different meanings of “lasting.” The color may still look attractive while visible regrowth changes the appearance near the cuticle. An enhancement may remain in place but need maintenance because its length and balance have changed as the natural nail grows.
How the base affects upkeep
- Regular polish: Wear often becomes visible at the tips as the finish chips or loses its freshly painted appearance.
- Gel polish: Regrowth and the condition of the coating help determine when it is time for removal or a new manicure.
- Acrylic enhancements: Maintenance involves the structure as well as the surface design. Looking only at the ombre color can overlook changes in the underlying set.
A sheer or closely matched base can make the contrast at regrowth less noticeable than a dark, opaque shade. That is a visual benefit, not a reason to postpone needed maintenance.
Everyday habits that help preserve the finish
Use tools rather than nail tips to open packaging or lift tabs. Gloves during cleaning can reduce repeated exposure to water and cleaning products. Hand moisturizer and cuticle oil can also keep the skin around the manicure looking cared for.
Avoid picking at loose product or peeling off a coating. An extra layer of topcoat does not repair lifting or restore a cracked extension. We offer nail repair for chips, cracks and clean breaks, with the repair approach depending on the affected nail and existing set.
Can an ombre set be filled or changed?
An acrylic maintenance appointment can address new growth and rebalance the enhancement. Preserving the gradient depends on where the colors sit, how much shaping is needed and the condition of the existing product.
Changing a painted ombre is different from changing color built into the acrylic. A switch from pale French ombre to a deep, opaque design has different requirements from refreshing the same pink-and-white finish.
Removal also follows the base product, not the design name. Keeping track of whether the set is gel polish, acrylic or a soft gel extension makes future maintenance discussions clearer.
Deep Dive Topics: Explore Your Ombre Options
For a closer look at a particular decision, these guides cover the main parts of choosing and maintaining a gradient manicure:
- How acrylic gradients are built: Explore the ombre acrylic nails technique to understand how color placement works within an acrylic set and how that differs from a painted finish.
- Wear and maintenance: The guide to how long do ombre nails last takes a closer look at upkeep, regrowth and fill timing.
- Color selection: Compare the best ombre nail colors for different seasons, contrast levels and personal styles.
- Gradients on soft gel extensions: Learn how ombre GelX nails combine a full-cover extension with a blended color finish.
A Well-Chosen Ombre Set Starts With a Clear Design
The best starting point is a combination of practical length, a suitable base and a color transition you genuinely enjoy. Choose the structure first, then decide how soft or noticeable the gradient will be. A clear plan makes room for personal details without losing the blend that defines the look, whether that means a quiet French ombre or a colorful, art-focused set.