Ombre Acrylic Nails: How the Gradient is Built Into Your Set
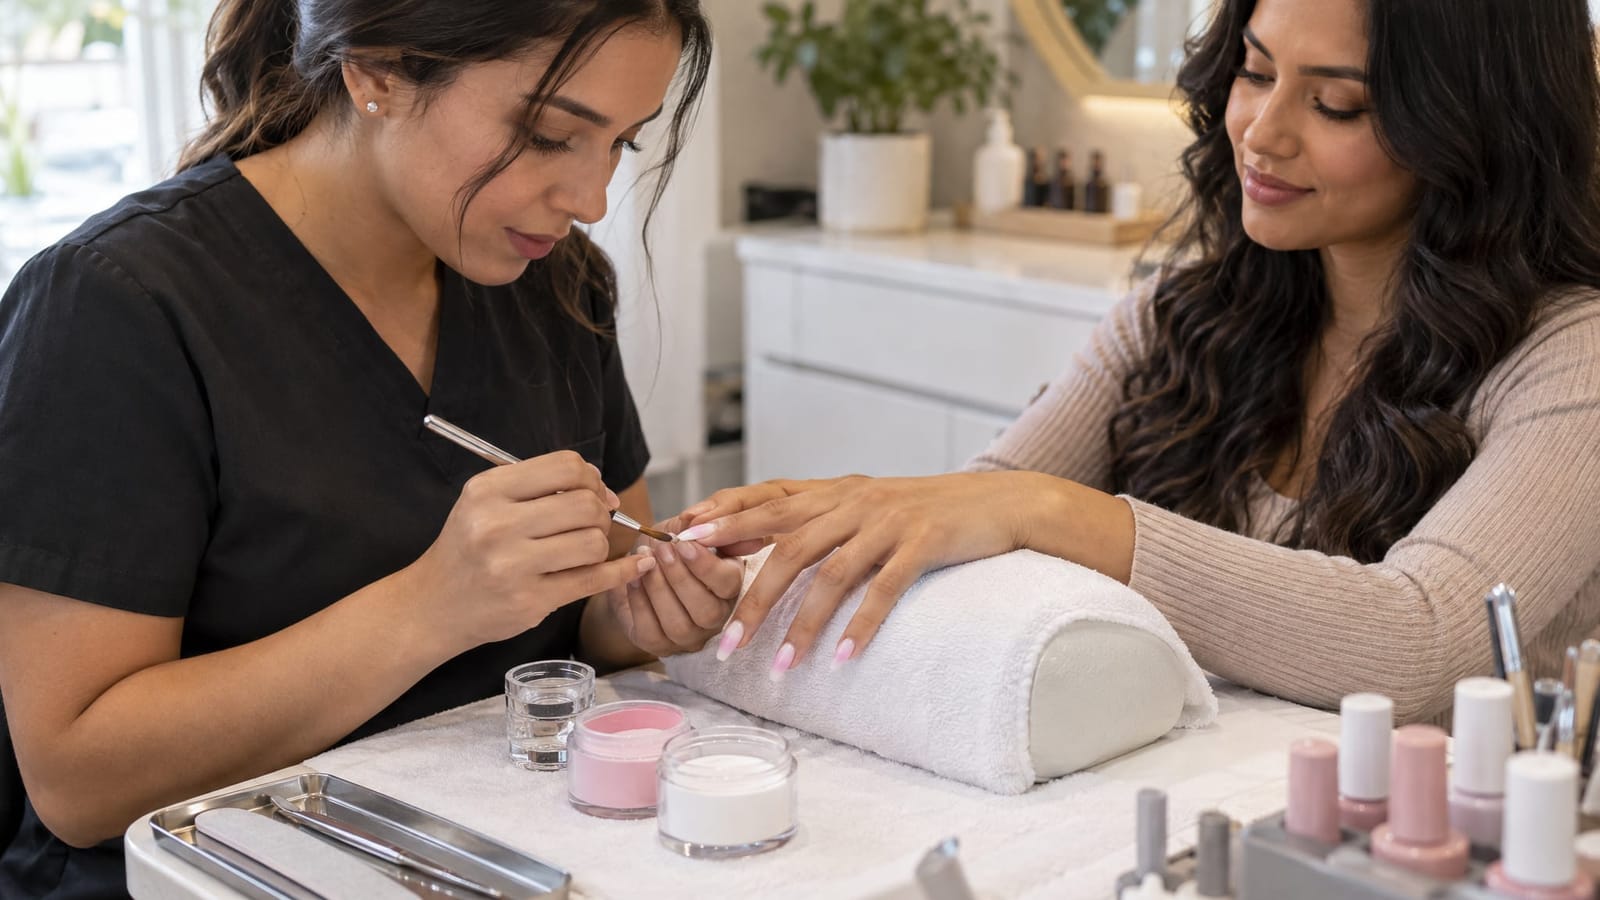
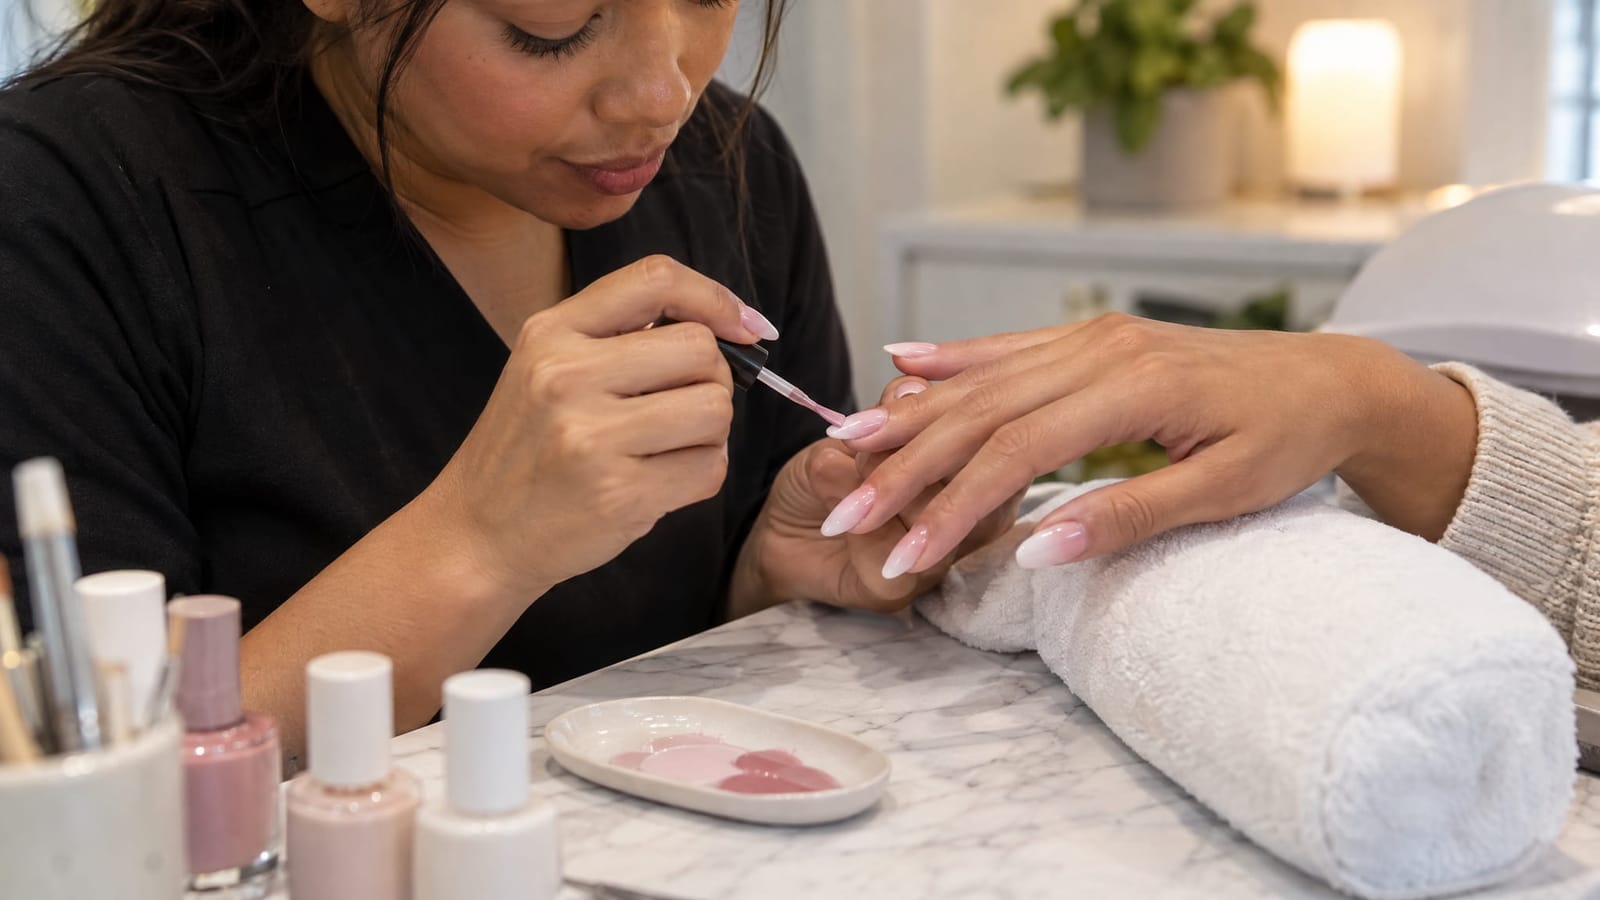
Ombre acrylic nails can have their color gradient built directly into the acrylic rather than painted on afterward. A nail technician uses two shades of acrylic powder, blending them while the product is still workable so one color gradually transitions into the other. The finished effect comes from careful placement, overlapping layers, and shaping that preserves the blend.
The defining feature of ombre on nails is that soft transition, not a crisp dividing line. Below is how the powder-based technique comes together, from choosing colors to keeping the finished set looking polished.
Step 1: Choose the Colors and Direction of Your Gradient
Start with the effect you want to see, not just two colors you like separately. A subtle gradient uses closely related shades. A higher-contrast combination creates a more noticeable transition and needs careful blending to avoid a visible band.
For a classic tip-focused ombre, one shade sits near the base of the nail and fades into a second shade toward the free edge, the part extending beyond your fingertip.
- Pink and white: A soft pink base fades into white tips for a blended alternative to a French manicure.
- Peach or beige and milky white: A gentle combination with a less pronounced contrast than bright white tips.
- Pink and blue: A colorful option with a more visible transition. Pastel shades give it a softer appearance.
- Nude and chocolate brown: A neutral-to-deep gradient that puts more emphasis on the tips.
Opacity matters, too. A sheer base lets more of the natural nail show through, while an opaque shade provides fuller color coverage. Reference photos are most useful when you identify both the colors and how soft or dramatic you want the transition to look.
Step 2: Match the Fade to Your Length and Shape
Ombre does not require long extensions. Short nails simply have less room for the transition, so the placement of each color becomes especially important. Letting a white tip take up too much space, for example, can leave very little room for the pink-to-white blend.
On longer nails, the technician has more space to stretch the gradient. Almond and tapered shapes can emphasize that length, while rounded or softly squared nails keep the overall design more understated.
At NailzByDelz Corp in Spokane Valley, we offer ombre nails and acrylic sets sculpted to your chosen length and shape. A soft, short set is just as valid a design direction as a dramatic extension.
For a compact version of the look, our guide to ombre nails on short nails explores how color placement works with a shorter canvas.
Step 3: Prepare the Nail and Establish the Foundation
Before the gradient begins, the natural nail is prepared for the acrylic application. This includes removing existing polish as needed, refining the nail shape, preparing the surface, and applying the preparation products appropriate to the acrylic system.
If length is being added, the technician establishes support for the extension. A form is a temporary support beneath the nail that allows acrylic to be shaped into an extension. A tip is a pre-shaped extension attached before the acrylic is applied.
The powder gradient can be created with either approach. Forms do not automatically produce a smoother fade than tips, and the ombre colors themselves do not make the set stronger. Preparation and the finished acrylic structure have separate jobs from the decorative blend.
This is also where the chosen length starts to become real. A reference photo may show very long nails, but its colors can be adapted without copying its proportions exactly.
Step 4: Place the Tip Color and Feather Its Inner Edge
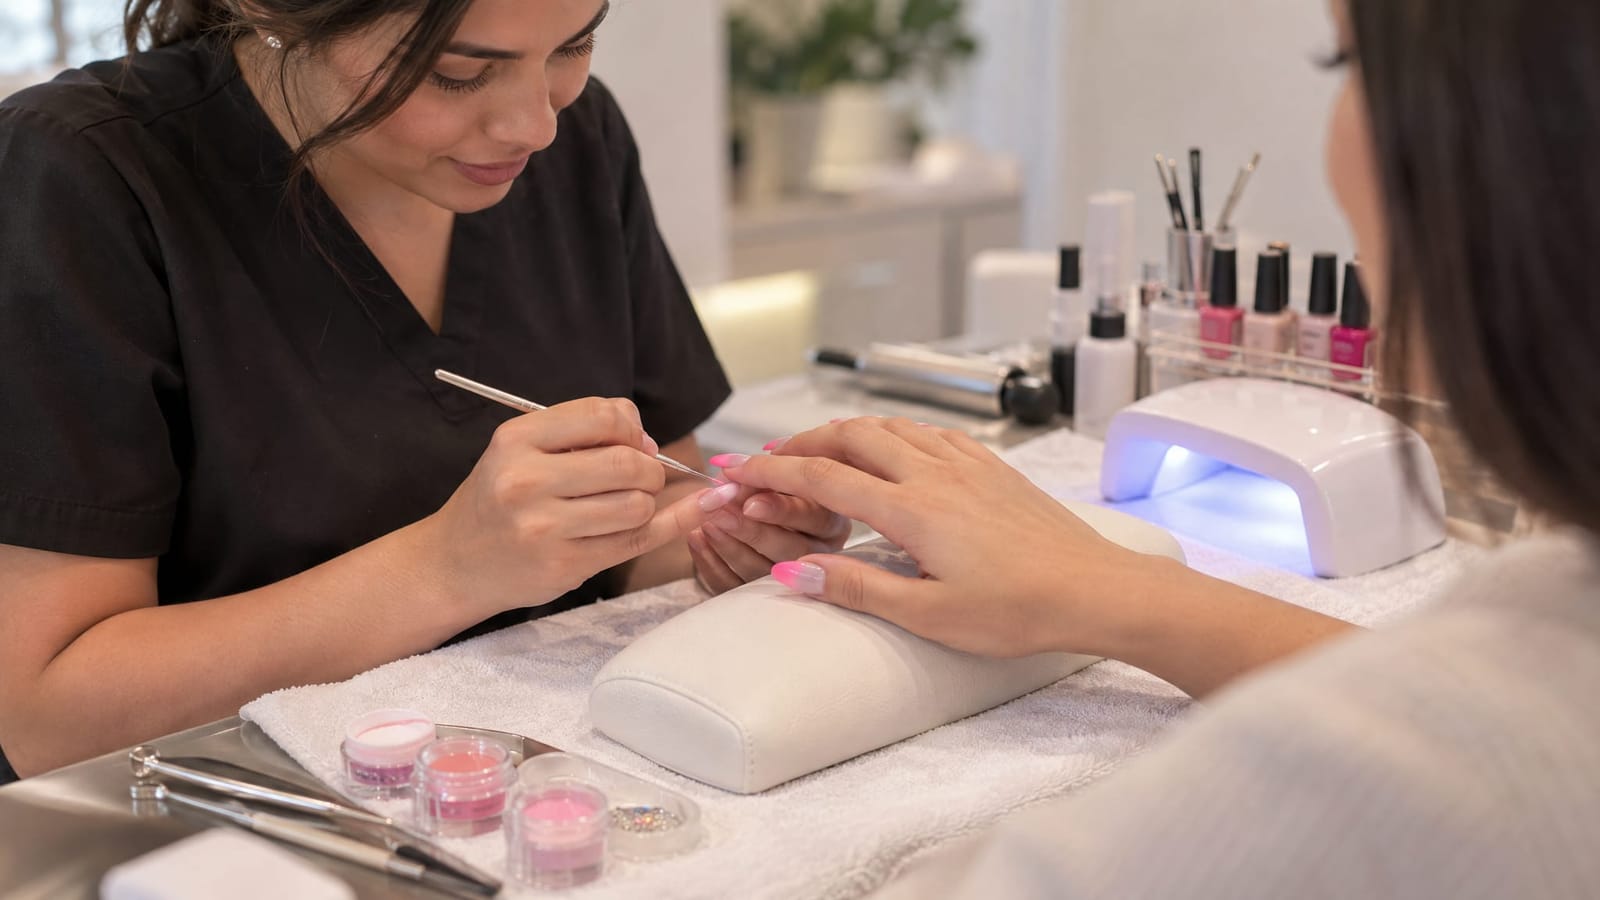
One common sequence begins with the lighter tip color. The technician combines acrylic liquid and colored powder into a small bead of workable product, then places it near the free edge.
The color is distributed across the tip, while the edge facing the center of the nail is gently thinned and drawn back toward the base. This movement is often called feathering: softening the edge instead of leaving a thick, abrupt border.
For pink-and-white ombre, this creates a white tip that becomes progressively less opaque toward the middle. The pink applied next can overlap that thinner area without meeting a solid white wall.
The placement matters as much as the brushwork. Bringing too much white too far toward the base can leave little space for the second color, especially on a short nail.
Step 5: Add the Base Color and Blend the Overlap
Next, the technician places the base shade near the cuticle area, keeping the product off the surrounding skin, and guides it toward the tip. The base color overlaps the feathered edge of the first shade.
Blend the transition, not the entire nail
The goal is not to stir both colors into one uniform shade. Each end of the nail keeps its intended color, with a gradual overlap between them.
Too little overlap can leave a stripe. Too much opaque base color can hide the lighter tip. Controlled amounts of product help the technician refine that middle area without repeatedly adding bulk.
Work with the acrylic’s setting time
Acrylic begins to set after its liquid and powder are combined. The blend is therefore shaped while the product is still workable, using controlled brush pressure and consistent product handling.
This differs from a sponge-applied gel or polish ombre, where the gradient sits on the surface of the enhancement. Both approaches can create a smooth-looking fade. Powder-built ombre places the color within the acrylic itself; a surface design keeps the decorative color separate from the underlying structure.
Step 6: Protect the Blend and Refine the Structure
After the color transition is established, the technician completes the structure and refines the shape. Depending on the acrylic system and design, a clear acrylic layer can cover the gradient before final filing. This gives the file a protective layer to shape rather than cutting directly into the colored blend.
Not every application needs an identical layering sequence. Some colored acrylics also contribute to the structure, so the important question is how the finished nail is built, not how many layers it contains.
Keep the color smooth without making the nail bulky
Adding product over every uneven patch can create unnecessary thickness. A controlled application balances the gradient with the nail’s side profile, tip thickness, and apex, the slightly raised area that helps support the extension.
Once the acrylic has set, filing refines the outline and surface. Removing too much colored product can expose an uneven patch or alter the fade, which is why the earlier placement and protective layering matter.
This is where careful sculpting contributes to a clean result: it coordinates color placement with shape and support. Sculpting is not an automatic durability advantage over every other method. Wear also depends on preparation, length, structure, and how the nails are used day to day.
Step 7: Choose a Finish That Suits the Gradient
The same color blend can look quite different under different finishes.
- Glossy: Reflections emphasize the smooth surface and give the colors a polished appearance.
- Matte: A non-reflective finish gives the gradient a softer look and makes the color transition the main feature.
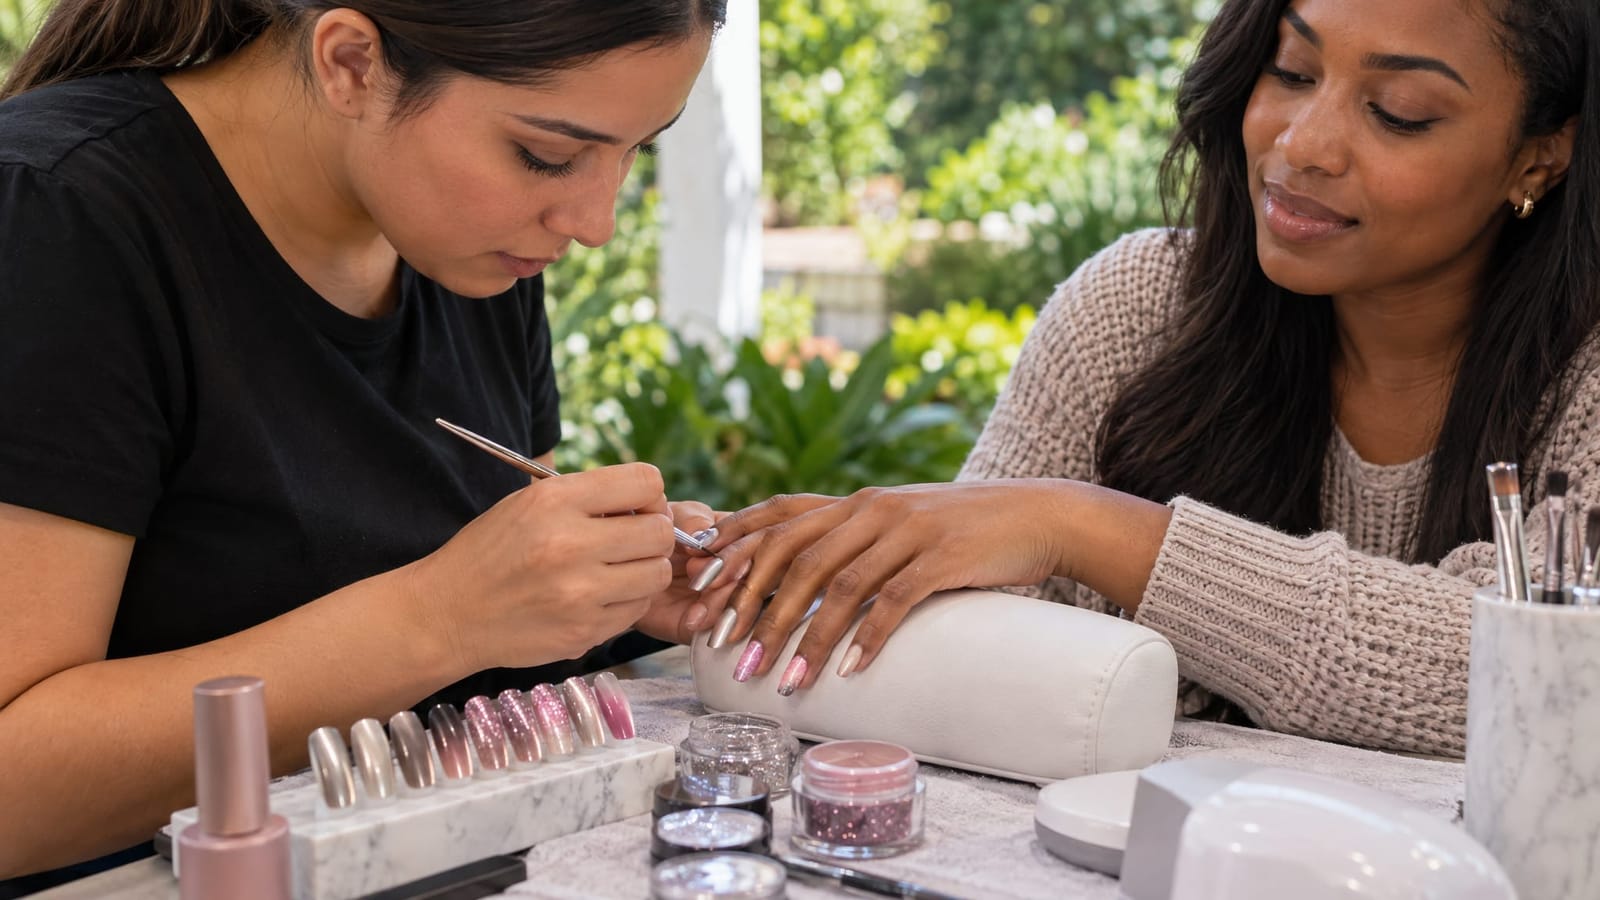
- Shimmer or glitter accents: A light accent adds sparkle while allowing the underlying fade to remain visible.
- Hand-painted details: A small floral design, fine lines, or dots can complement the ombre without covering most of it.
If the gradient is the feature you want to notice first, keep embellishments concentrated on a few nails or a small area. Full coverage with glitter or artwork changes the emphasis of the design.
Acrylic sets without a curing lamp, but a gel top coat applied over it requires lamp curing. A gel finish does not turn the underlying acrylic set into gel nails.
Step 8: Care for the Set and Plan for Grow-Out
Everyday care helps preserve the finish and reduces avoidable wear on the extensions.
- Use tools rather than nail tips: Opening packaging or prying up tabs puts pressure on the extension.
- Wear gloves for cleaning: This limits prolonged exposure to water and cleaning products.
- Keep the surrounding skin moisturized: Cuticle oil or hand moisturizer helps maintain a neat-looking nail area.
- Avoid picking or peeling: Pulling at lifted acrylic or a chipped finish can turn a small issue into a larger repair.
As the natural nail grows, a gap appears near the base and the structure moves outward. Maintenance is more than covering that gap: the technician also evaluates the shape, balance, and condition of the existing product.
Because powder ombre is built into the acrylic, a fill does not always recreate the original color proportions. Refreshing the gradient may involve reducing and reworking colored product. Switching to a completely different powder blend is also more involved than removing surface polish.
The practical choice is between keeping a favorite gradient within the set and having decorative color that is easier to change separately. For powder-built ombre, a well-planned blend, suitable length, and balanced structure matter more than adding extra product or choosing the longest extension.