How NailzByDelz Applies Gel Hard Overlay Using Their Sculpting Technique
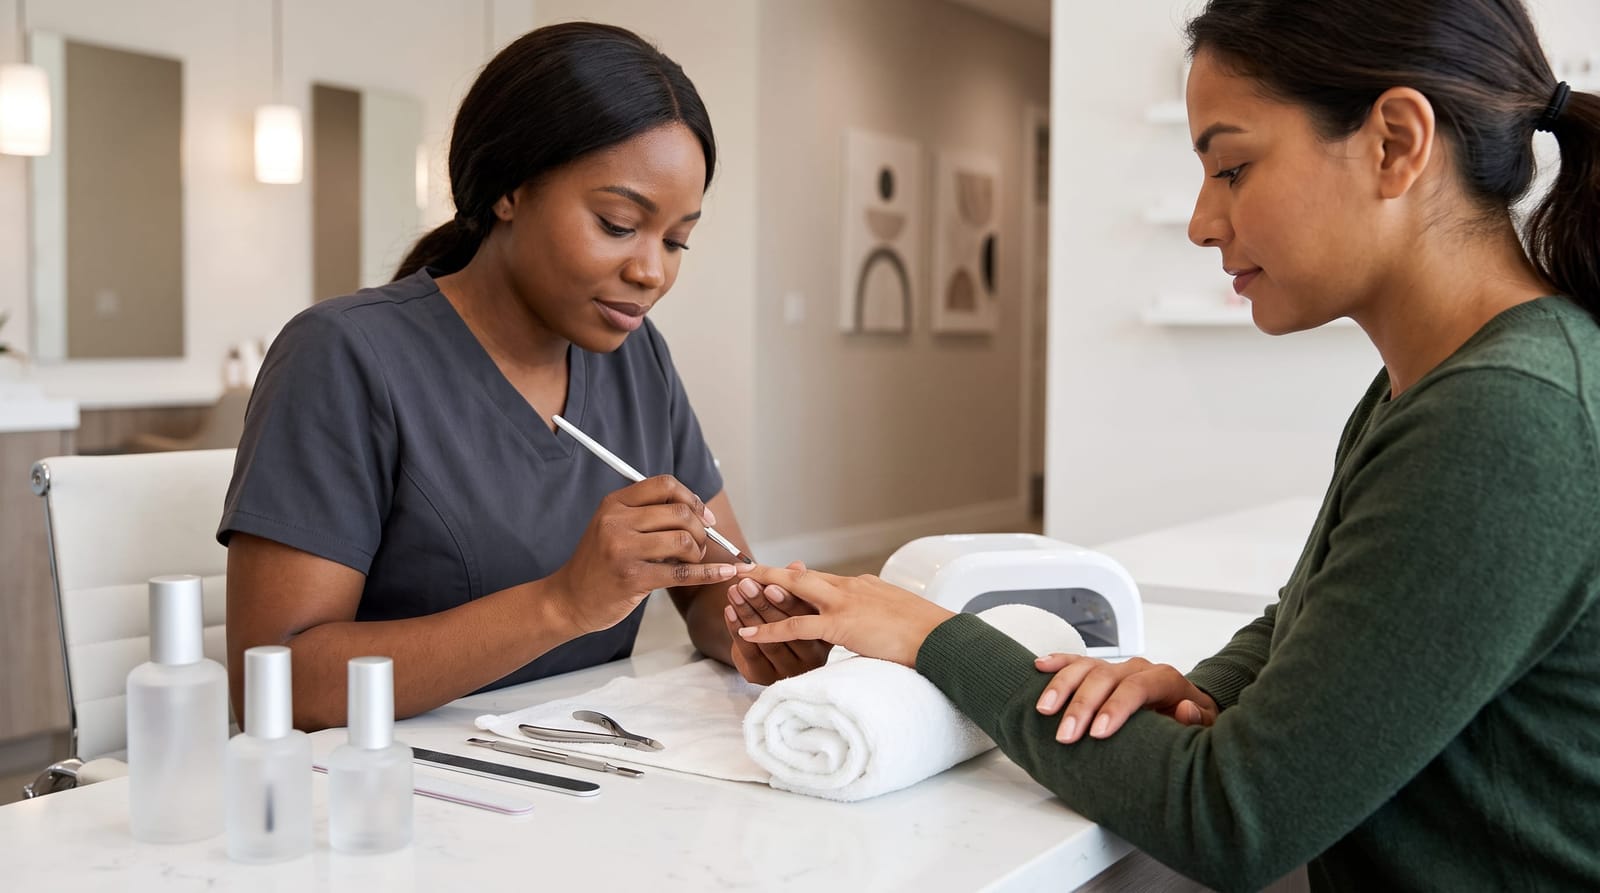
If you've been exploring ways to strengthen your natural nails without adding length, you've probably come across the term gel hard overlay application process. It's one of the most talked-about services at NailzByDelz in Liberty Lake, WA, and for good reason. The gel hard overlay application process isn't just about painting something on and calling it done. It's a layered, precise technique that involves sculpting, shaping, curing, and finishing in a way that feels intentional at every step. Whether you're curious before booking your first appointment or you simply want to understand what happens during the service, this walkthrough covers exactly how NailzByDelz approaches gel hard overlay from start to finish, and why the sculpting method makes all the difference.
Why the Gel Hard Overlay Application Process Matters So Much
Not all gel overlay services are created equal. The difference between a gel hard overlay that looks natural and wears beautifully versus one that lifts, cracks, or looks uneven almost always comes down to how the product is applied. A rushed or imprecise gel hard overlay application process can result in uneven thickness, weak spots near the edges, or poor adhesion at the cuticle, all of which shorten the life of the service and affect how your nails look and feel.
At NailzByDelz, the gel hard overlay application process is structured around a sculpting technique. Rather than flooding the nail with product and hoping it settles evenly, the sculpting approach involves placing the builder gel in specific zones and working it into a controlled shape: one nail at a time. This method is what gives the finished overlay its clean, natural-looking structure.
Research across professional nail education sources consistently points to a few key factors that determine overlay quality:
- Proper nail preparation before any product is applied
- Controlled product placement rather than flooding the nail surface
- Correct apex positioning to create the right arch and strength point
- Full curing at each stage before moving to the next step
- Finishing and shaping that refines the structure without thinning it
The NailzByDelz sculpting technique addresses each of these factors deliberately. If you're comparing this to other nail services, it's worth reading about Gel Hard Overlay vs GelX to understand how the application approach differs between the two.
Step 1: Nail Preparation: The Foundation Everything Builds On
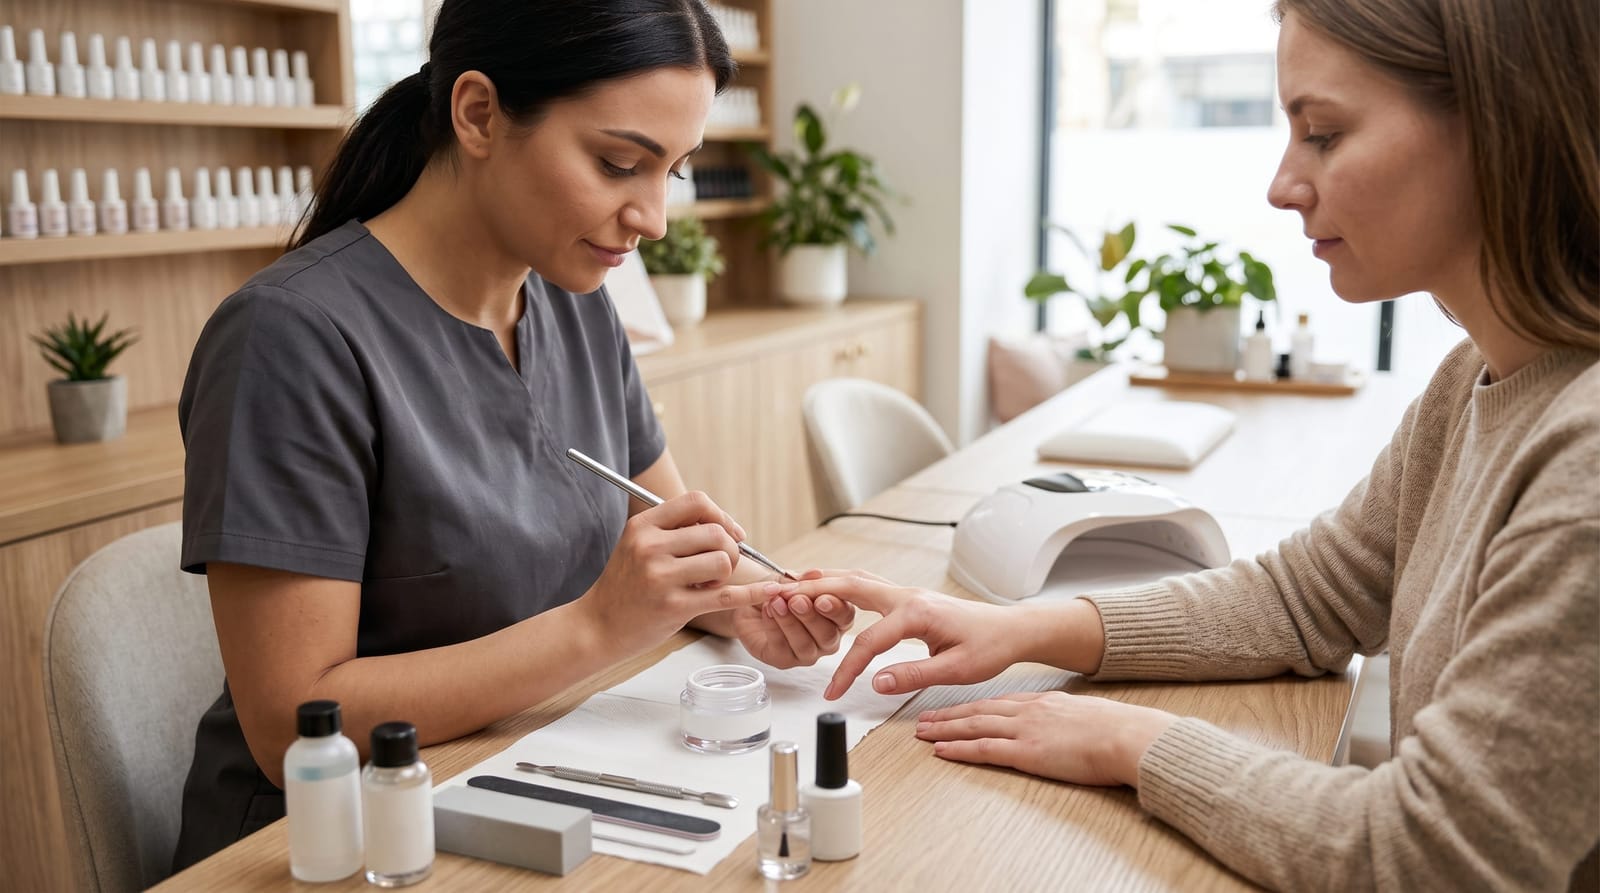
The gel hard overlay application process at NailzByDelz begins well before any builder gel touches the nail. Preparation typically takes 10 to 15 minutes and is treated as one of the most critical phases of the service. Skipping or rushing prep is one of the most common reasons overlays fail prematurely, which is why this step receives its own dedicated focus.
What Preparation Includes
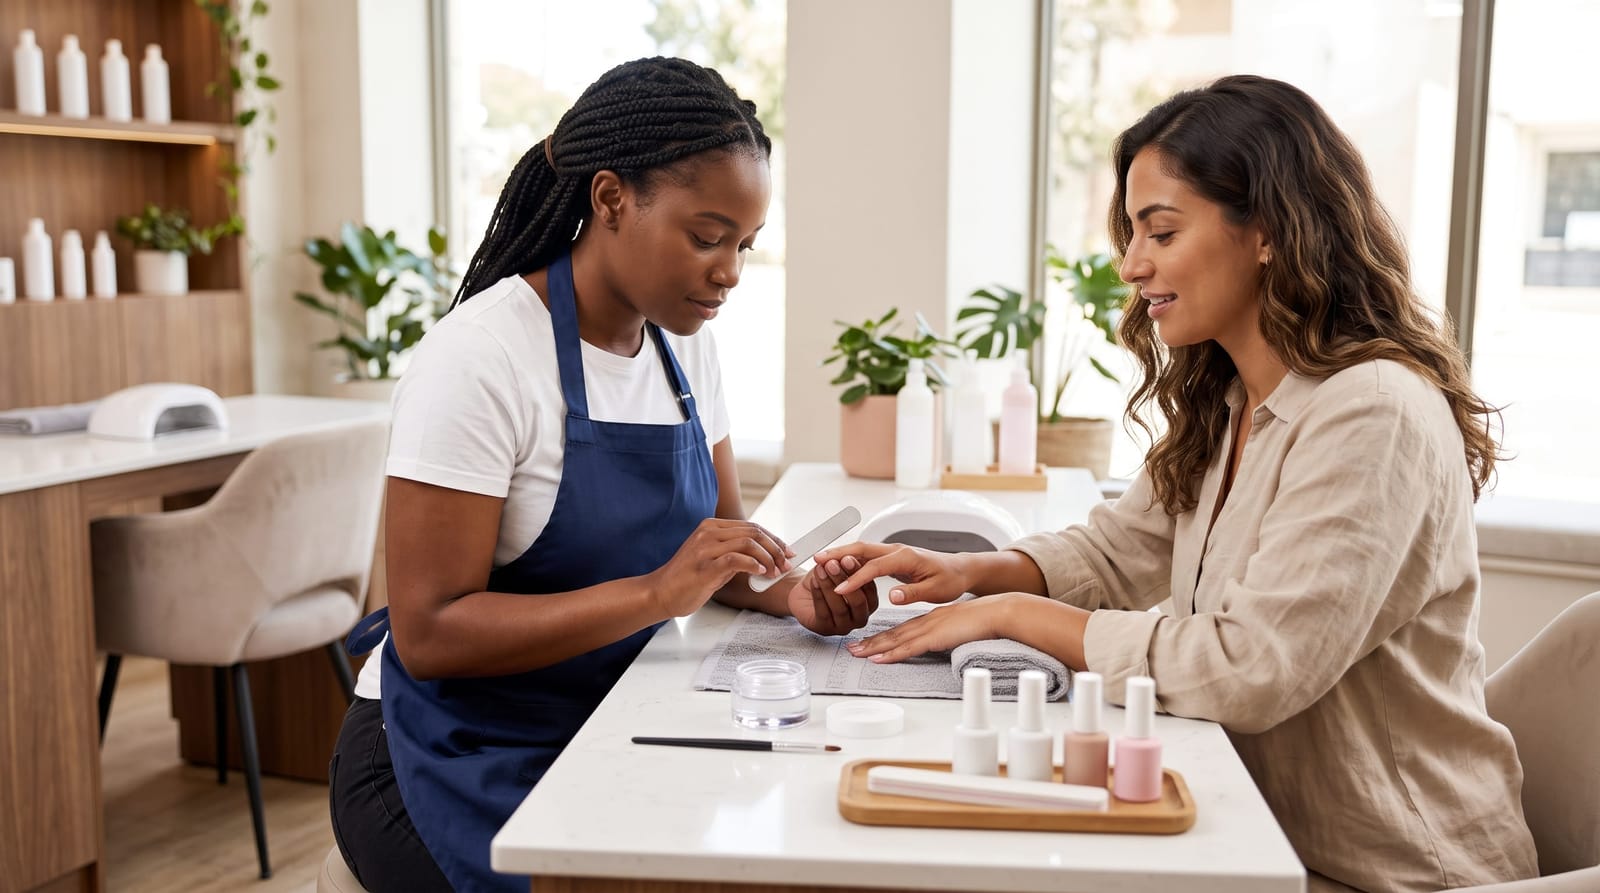
- Shaping the natural nail: The nail is gently filed to the client's preferred shape before product is applied, giving the overlay a clean edge to follow.
- Cuticle work: Cuticles are pushed back and any excess skin along the nail plate is carefully addressed so the overlay can adhere cleanly at the base.
- Surface preparation: The nail plate is lightly buffed to create the right texture for adhesion, not so aggressive that it damages the nail, but enough to help the base coat bond properly.
- Dehydration and priming: A dehydrator removes any natural oils from the nail surface, and a primer is applied to maximize bond strength. These two steps together significantly reduce the chance of lifting.
This preparation phase is part of what makes the gel hard overlay application process at NailzByDelz feel different from a quick in-and-out service. The time spent here directly affects how long the overlay lasts and how cleanly it sits on the nail.
Step 2: Base Coat Application and Initial Cure
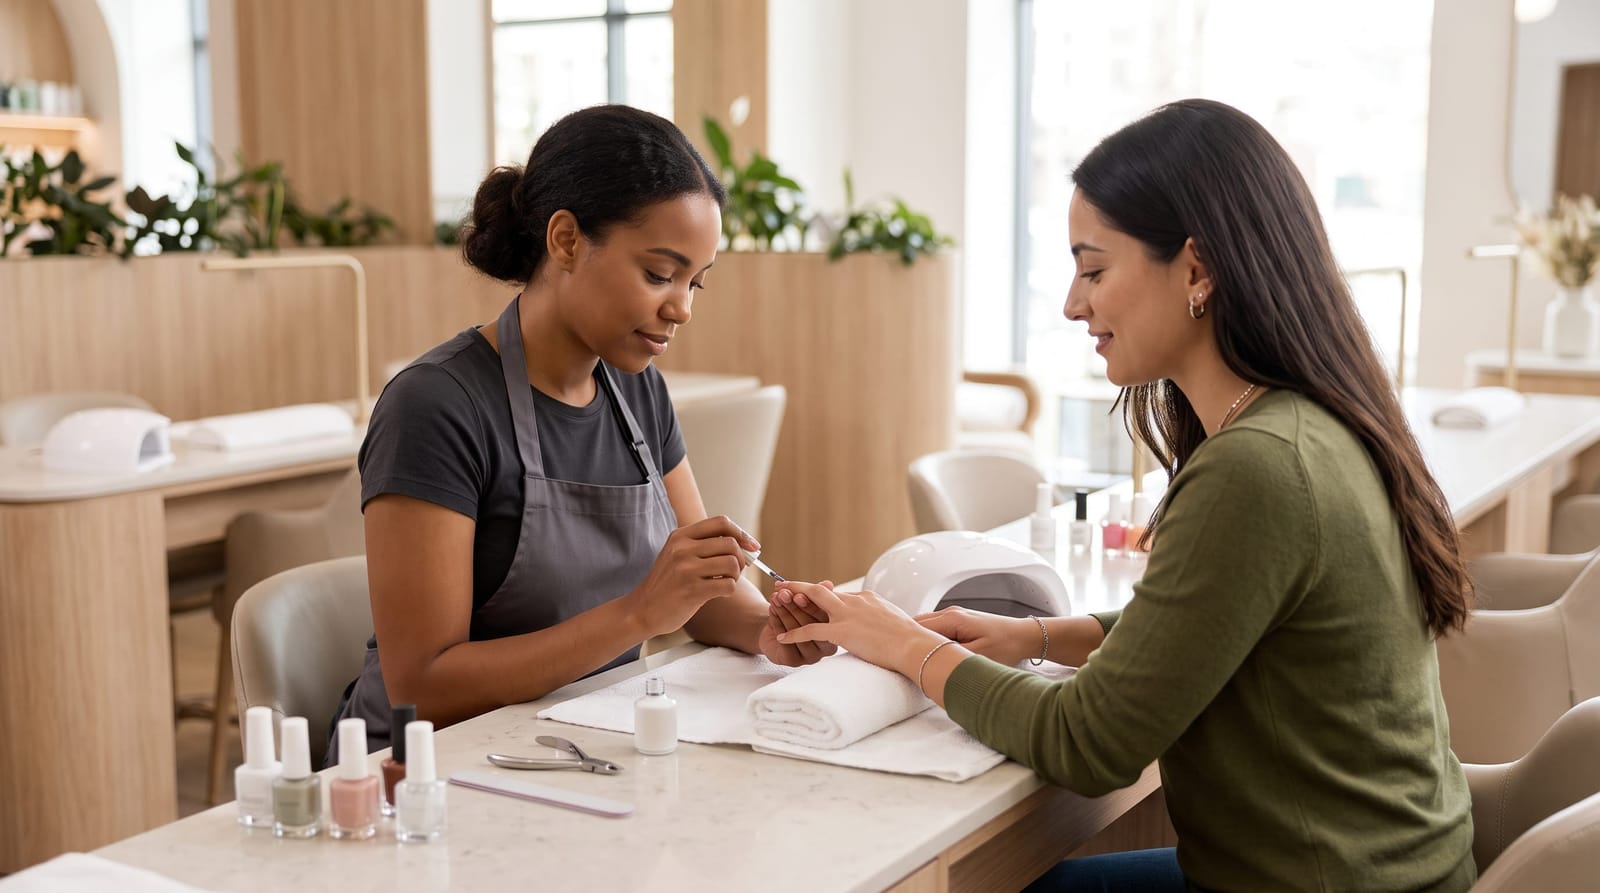
Once the nails are prepped, the next phase of the gel hard overlay application process is the base coat. This isn't the same formula as the builder gel: it's a thinner bonding layer designed to create an anchor between the nail plate and the overlay product that comes next.
At NailzByDelz, the base coat is applied in a thin, even layer and cured under an LED lamp. Most LED curing for the base coat stage runs approximately 30 to 60 seconds, depending on the specific product used. What matters here is that the layer is fully cured before the builder gel goes on, if it isn't, the layers can shift or create adhesion problems down the line.
One detail worth noting: the application is kept slightly off the cuticle and skin edges. This clean margin is part of what gives the finished overlay a neat, professional look and prevents the product from lifting at the base.
Step 3: Builder Gel Placement and the Sculpting Technique
This is the heart of the gel hard overlay application process, and the step where NailzByDelz's sculpting technique is most visible. Rather than applying the builder gel across the entire nail at once, it's placed in specific zones and shaped deliberately.
The Three-Zone Approach
Professional gel hard overlay application typically breaks the nail into 3 key zones:
- Zone 1 (Near the cuticle): A smaller amount of product is placed closest to the base of the nail, where a thinner layer is appropriate. This keeps the overlay from looking bulky near the skin.
- Zone 2 (The apex): The highest concentration of product goes in the middle of the nail: this is the apex, or the highest point of the arch. A well-placed apex is what gives the overlay its structural strength and natural-looking curve. Approximately 60% of the product volume is directed toward this zone.
- Zone 3 (The free edge): Product is tapered toward the tip, creating a smooth transition that prevents the edge from being too thick or too thin.
The sculpting part comes in how the technician moves and shapes the product once it's placed. Using a brush technique, the gel is worked into these zones with controlled strokes, guiding the product into an even, smooth layer rather than letting it settle randomly. This takes both skill and practice, which is exactly the kind of craftsmanship NailzByDelz brings to every appointment.
Why Apex Placement Changes Everything
A properly placed apex creates what's sometimes called a "C-curve" or natural arch across the width of the nail. This arch distributes stress across the nail's surface more evenly, which is one reason a well-applied gel hard overlay can hold up to daily activities more comfortably. Nails without a proper apex tend to feel flatter and can be more vulnerable to stress at the edges.
Step 4: Curing the Builder Gel
Once the builder gel is sculpted and shaped, the nails go under the LED lamp for a full cure. This stage of the gel hard overlay application process is non-negotiable: the product must be fully cured before any finishing work begins.
Curing time varies based on product and lamp, but most builder gel overlays require 60 to 120 seconds under LED light. At NailzByDelz, both hands are never cured simultaneously in a way that risks uneven exposure: each hand is given proper attention to ensure the product sets correctly.
After curing, nails may have a slightly tacky surface layer: this is normal and expected. Some products have an inhibition layer that's removed during the finishing phase, while others are designed to cure tack-free. Either way, the nails are now structurally set and ready for refinement.
Step 5: Shaping, Filing, and Finishing
After curing, the gel hard overlay application process moves into the finishing phase. Even with precise sculpting, some refinement is always needed to perfect the shape and smooth the surface.
What Finishing Involves
- Filing the shape: The technician refines the nail edge, whether that's square, squoval, oval, or another shape, so each nail is consistent and clean.
- Surface smoothing: A fine file or buffer is used to smooth out any slight ridges or texture in the overlay surface before the top coat goes on.
- Sidewall cleanup: Any product that crept too close to the skin is carefully filed back for a clean, professional result.
- Dust removal: A brush clears away any filing dust before the top coat is applied so the finish isn't compromised.
The final step is the top coat: a gel formula that seals the overlay, adds shine, and protects the surface. This is cured for a final time under the LED lamp, leaving the nails with a smooth, glossy finish. Some clients also choose a matte top coat for a more understated look.
If you're interested in adding design to your finished overlay, it's worth exploring nail art on gel hard overlay: the cured surface is an excellent canvas for color and design work.
What Your Nails Look and Feel Like After the Service
Immediately after the gel hard overlay application process is complete, clients typically notice a few things:
- A natural, slightly elevated appearance: The overlay follows the shape of your natural nail but with a clean arch and smoother surface than an uncoated nail.
- A firm, solid feel: Running your fingers together feels different than a regular polish: there's a noticeable firmness and structure that many clients describe as reassuring without feeling heavy or fake.
- Immediate wearability: Because gel is cured under UV/LED light rather than air-dried, the nails are completely set by the time you leave the salon: no waiting, no smudging.
- Comfortable length: The overlay stays at your natural nail length, so there's no adjustment period for length you didn't have before.
For anyone who's curious about whether this service is the right fit before booking, the post on what is a gel hard overlay covers the basics of who this service tends to work well for.
Conclusion
The gel hard overlay application process at NailzByDelz is built around precision, from the preparation phase that sets the foundation, to the sculpting technique that places and shapes the builder gel with intention, to the finishing work that perfects the final result. Each step serves a purpose, and the cumulative effect is a finished nail that looks polished, feels comfortable, and wears the way a quality service should.
If you've been thinking about trying a gel hard overlay, there's no better way to experience the difference of a thoughtful application than by booking with NailzByDelz in Liberty Lake, WA. Reach out to schedule your appointment and see the sculpting technique in person.