How Is Gel Hard Overlay Removed at NailzByDelz?
If you've been wearing a Gel Hard Overlay and you're wondering what happens when it's time to take it off, you're in the right place. Removal is one of the most common questions clients ask, and it's a great one, because how an overlay comes off matters just as much as how it goes on. At NailzByDelz in Liberty Lake, WA, removal is a careful, step-by-step process designed to keep your natural nails in good shape throughout the transition. Here's exactly what to expect.
Why Professional Removal Makes a Difference
When it comes to how to remove gel hard overlay safely, the biggest mistake clients make is attempting to peel, pick, or force the product off at home. Even when the overlay feels like it's lifting at the edges, pulling it off prematurely can remove layers of your natural nail along with it: leaving nails thin, rough, or weakened.
Gel hard overlay is designed to bond firmly to the nail surface. That's part of what makes it such a durable strengthening service. But that same bonding strength means it needs to be softened and loosened properly before removal, not forced.
At NailzByDelz, professional removal includes:
- A trained eye to assess your nail condition before starting
- The right tools to file without over-thinning the nail plate
- Proper acetone application technique to loosen the product evenly
- Gentle pushing and removal to minimize friction on the nail surface
- A final assessment of your natural nail health before moving forward
Skipping professional removal might seem like a time-saver, but the recovery time from damaged nails is almost always longer than the appointment itself.
The Gel Hard Overlay Removal Process at NailzByDelz: Step by Step
Understanding the actual removal process can make the appointment feel much less mysterious. Here's a straightforward breakdown of what happens during your removal service at NailzByDelz.
Step 1: Filing the Top Layer
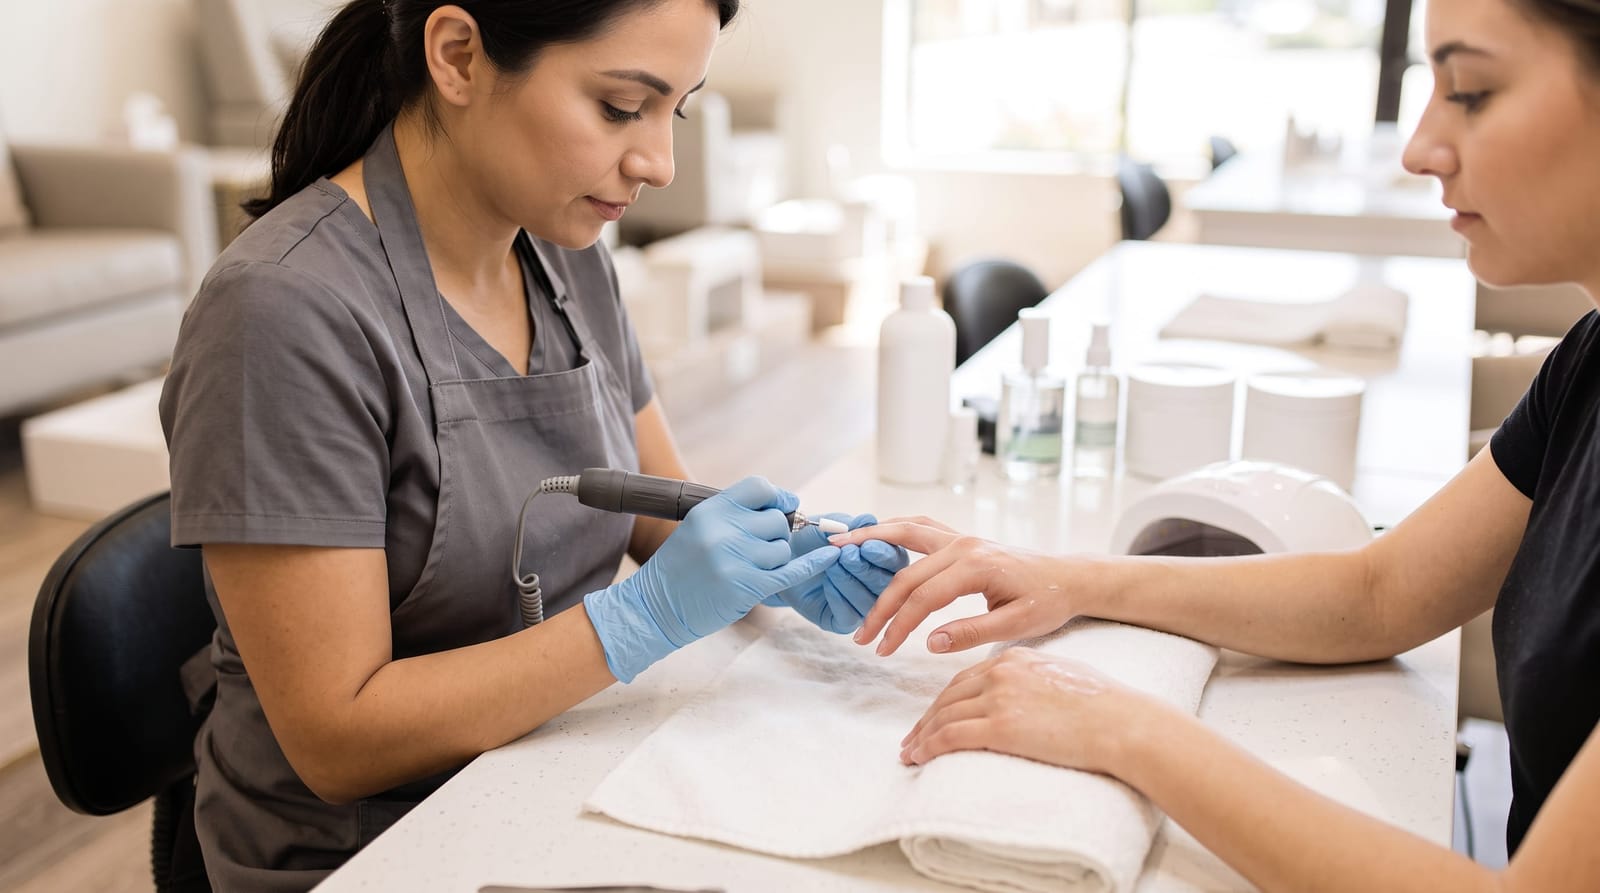
The first step is using a nail file to gently break through the shiny top surface of the overlay. This is called debulking, and it's essential because the top coat of a gel overlay is designed to be resistant to moisture. If you skip this step, acetone can't penetrate effectively. Your nail technician will file at a careful angle to thin the product without touching the natural nail underneath: typically reducing the overlay to about half its original thickness.
Step 2: Protecting the Skin
Before any acetone is applied, a small amount of petroleum jelly or protective barrier cream is placed around the edges of each finger. Acetone is drying, and this simple step keeps the surrounding skin comfortable throughout the soak. It's a small detail that makes a real difference in how your hands feel after the appointment.
Step 3: Acetone Soak
Cotton pads saturated with acetone are placed directly on each nail, then wrapped in foil to hold them in place. Most clients soak for approximately 10 to 15 minutes. During this time, the acetone works its way into the product and begins breaking down the bond between the overlay and the nail plate. Warming the acetone slightly, either with a warm towel wrap or a bowl of warm water around the foil, can speed this process up noticeably.
Step 4: Gentle Removal
Once the soak is complete, the softened overlay lifts away in pieces. A wooden or metal cuticle pusher is used to gently guide the product off the nail. Any remaining bits are soaked again rather than scraped: this is where patience really protects your nails. The goal is zero force on the natural nail plate.
Step 5: Nail Assessment and Buffing
After all the product is off, your technician will lightly buff the nail surface to remove any residue, then assess the condition of each nail. This is the moment to check for any areas that need extra attention before moving into your next service or finishing with a nourishing treatment.
What Do Your Natural Nails Look Like After Removal?
This is one of the most common concerns clients bring up, and it's a fair one. Here's the honest answer: most clients who have had their overlay applied and removed professionally find that their natural nails are in good, sometimes even better, condition than before they started wearing the overlay.
What you might notice right after removal:
- Nails may appear slightly dry or dull immediately after the acetone soak
- The nail surface might feel slightly rough before it's buffed smooth
- Nails may look a little pale or chalky right after removal: this is normal and resolves quickly
- In most cases, nails are noticeably longer than when the overlay was first applied, since the overlay protects them from everyday breakage
Applying a hydrating cuticle oil right after removal helps restore moisture to both the nail and surrounding skin. At NailzByDelz, this step is part of the removal service, not an afterthought.
Transitioning After Your Overlay Is Removed
Removal doesn't have to mean the end of your nail routine: it's really just a decision point. At NailzByDelz, clients have several natural directions to move after a Gel Hard Overlay is taken off.
Three of the most common transitions include:
- Reapplying a fresh overlay: Many clients remove their overlay every 3 to 4 weeks for a fresh application. This keeps the service feeling new, allows for any nail cleanup, and gives your technician a chance to check in on nail health.
- Switching to a gel polish service, If your nails have grown to a length you're happy with and feel strong enough on their own, a gel polish manicure is a lighter option that still delivers long-lasting color without the structural layer.
- Going bare for a season: Some clients like to give their nails a short rest between overlay applications. A nourishing cuticle treatment, good hydration, and a few weeks of growth is all most nails need before they're ready for the next round.
Your technician at NailzByDelz is happy to talk through which direction makes the most sense for where your nails are right now. There's no pressure, just a personalized recommendation based on what you're working with.
Frequently Asked Questions About Gel Hard Overlay Removal
Can I remove gel hard overlay at home?
Technically, the materials involved, a file and acetone, are available at home. However, the risk of over-filing the nail or pulling off softened product too aggressively is real, and even small mistakes can weaken your natural nail. Professional removal at NailzByDelz takes roughly 30 to 45 minutes and removes the guesswork entirely.
Does removal hurt?
Removal should not be painful at all. If a client ever feels discomfort during the process at NailzByDelz, the technician adjusts immediately. The most a client typically feels is mild warmth from the acetone wrap: nothing sharp or uncomfortable.
How often should I have my gel hard overlay removed and reapplied?
Most clients schedule a removal and reapplication every 3 to 4 weeks. This timeline keeps the overlay looking fresh, prevents lifting at the edges, and gives the nail plate a brief moment to breathe before the new product is applied. Some clients with very strong nails go up to 5 weeks, but your technician will help you find the rhythm that works best for you.
Will my nails be weak after removal?
When removal is done properly, nails are typically not noticeably weaker after the service. In fact, many clients find their nails are longer and more intact than they were before wearing the overlay, because the product protected them from breakage during daily activities. If nails do feel a little dry post-removal, cuticle oil and a gentle nail strengthener applied at home for a few days is usually all that's needed.
Ready to Book Your Removal or Overlay Appointment?
Knowing how to remove gel hard overlay properly, and having a skilled technician handle it, makes a real difference in how your nails feel going forward. At NailzByDelz in Liberty Lake, WA, the removal process is built to protect your natural nails at every step, whether you're coming in for a refresh, switching services, or just checking in on your nail health. If you're curious about starting with a Gel Hard Overlay in the first place, you can learn more about the full service and what it involves before booking your first appointment.