GelX Application Process at NailzByDelz: Step-by-Step
If you've been curious about GelX nails but aren't sure what actually happens during an appointment, you're in the right place. Understanding the GelX application process from start to finish makes your first visit so much more comfortable, and honestly, more enjoyable. Whether you're completely new to nail extensions or just switching from another service, knowing what to expect helps you feel confident walking through the door. This guide walks you through every step of how we apply GelX at NailzByDelz in Liberty Lake, from the very first prep steps to the final shine. You'll also see how our streamlined, speed-focused workflow keeps your appointment efficient without ever cutting corners on quality or care. If you want a broader overview of the service itself, start with our guide on what is GelX nails before diving into the application details below.
Step 1: Nail Prep: The Foundation of Everything
Every great set of GelX nails starts with thorough preparation. This step might look simple from the outside, but it's where durability and adhesion are actually built. Rushing or skipping proper prep is one of the most common reasons nail extensions lift, separate, or wear unevenly, so we never skip it.
What Prep Actually Involves
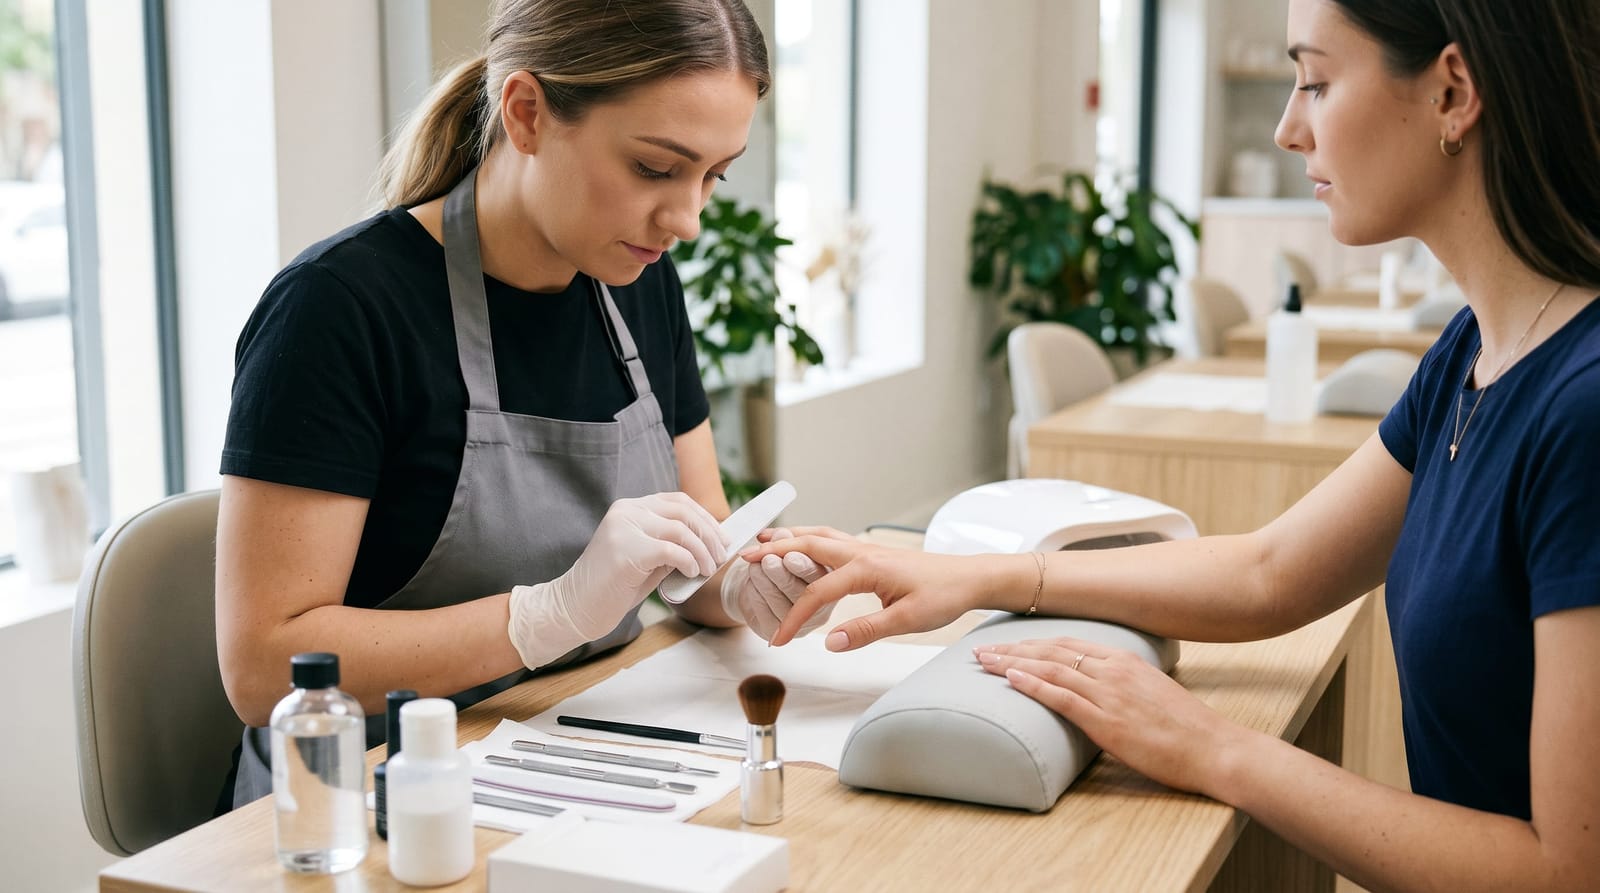
During the GelX application process, prep at NailzByDelz includes several focused steps performed in sequence:
- Shaping the natural nail: We file and shape your natural nails so the extensions sit flush and even from every angle.
- Cuticle work: Cuticles are gently pushed back and any excess skin near the nail plate is tidied up to ensure a clean, professional finish.
- Surface buffing: The nail plate is lightly buffed to create the slight texture that gel adhesive needs to bond properly. This is a gentle step, not aggressive filing.
- Cleansing and dehydrating: A prep solution is applied to remove any oils, moisture, or residue from the nail surface. This is one of the most important steps for long-term adhesion.
On average, proper prep takes about 10 to 15 minutes for a full set. It's time well spent because it sets the tone for how the entire application performs over the following weeks.
Step 2: Sizing and Selecting the Right Extensions
One of the things that makes the GelX application process different from traditional acrylics is the use of pre-shaped soft gel tips. These extensions come in a wide range of sizes, shapes, and lengths, and finding the right fit for each individual nail is a genuine skill.
Why Sizing Matters More Than You'd Think
At NailzByDelz, we take sizing seriously because a correctly fitted extension does the following:
- Lays flat against the natural nail without gaps or air pockets
- Covers the nail from sidewall to sidewall without overhanging the skin
- Creates a natural-looking base that holds shape throughout the wear period
- Reduces the risk of premature lifting along the edges
We size all 10 nails before applying a single one. This way, the full set is planned out, and the application moves smoothly without interruption. Depending on nail shape preferences, whether you want square, round, almond, coffin, or stiletto, tips are selected and sometimes pre-trimmed to the right starting length before sculpting begins.
This pre-planning phase is part of what keeps our appointments moving efficiently. When sizing is done upfront, there's no guessing mid-application.
Step 3: Applying the Bond Layer and Gel Adhesive
This is where the GelX application process gets into the chemistry that makes these extensions work. Unlike traditional acrylics, which use a liquid-and-powder system, GelX uses a UV/LED-curable gel adhesive to bond the soft gel tip to your natural nail. If you're curious about how that difference plays out in terms of feel, flexibility, and wear, check out our breakdown of GelX vs acrylic nails.
The Bonding Steps Explained
The bonding phase includes two key layers:
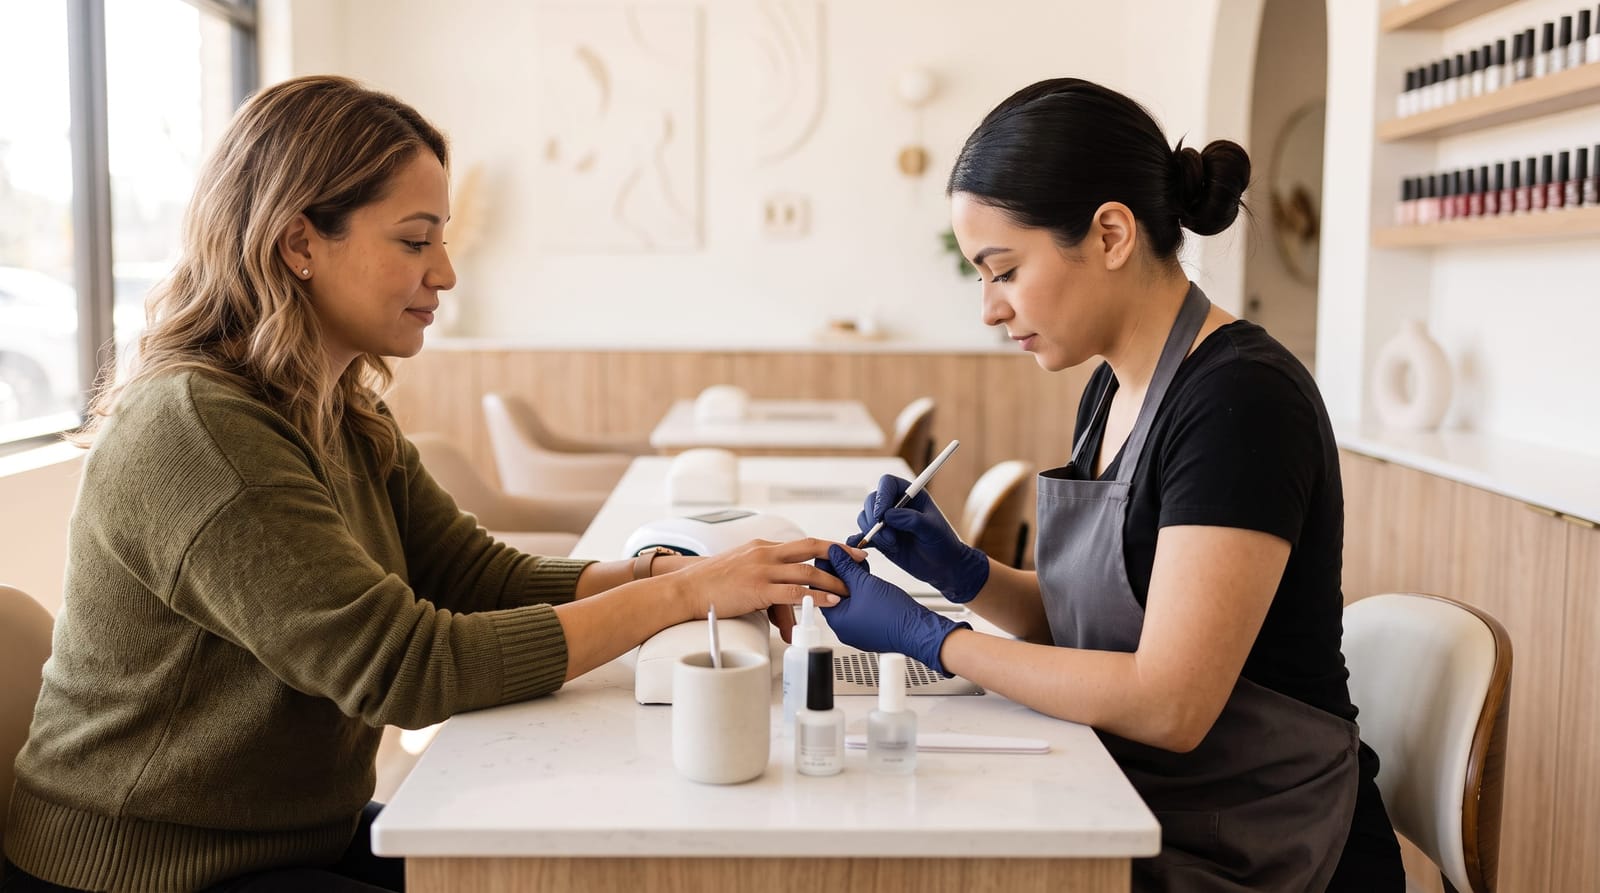
- Bond gel (primer layer): A thin layer of bond gel is applied to the natural nail plate. This acts as the anchor point and improves how well the soft gel tip adheres long-term. It's left tacky on purpose.
- Gel adhesive on the extension tip: A small bead of gel is placed inside the soft gel tip itself: specifically in the well area near the base. This is what physically bonds the extension to your nail when pressed into place.
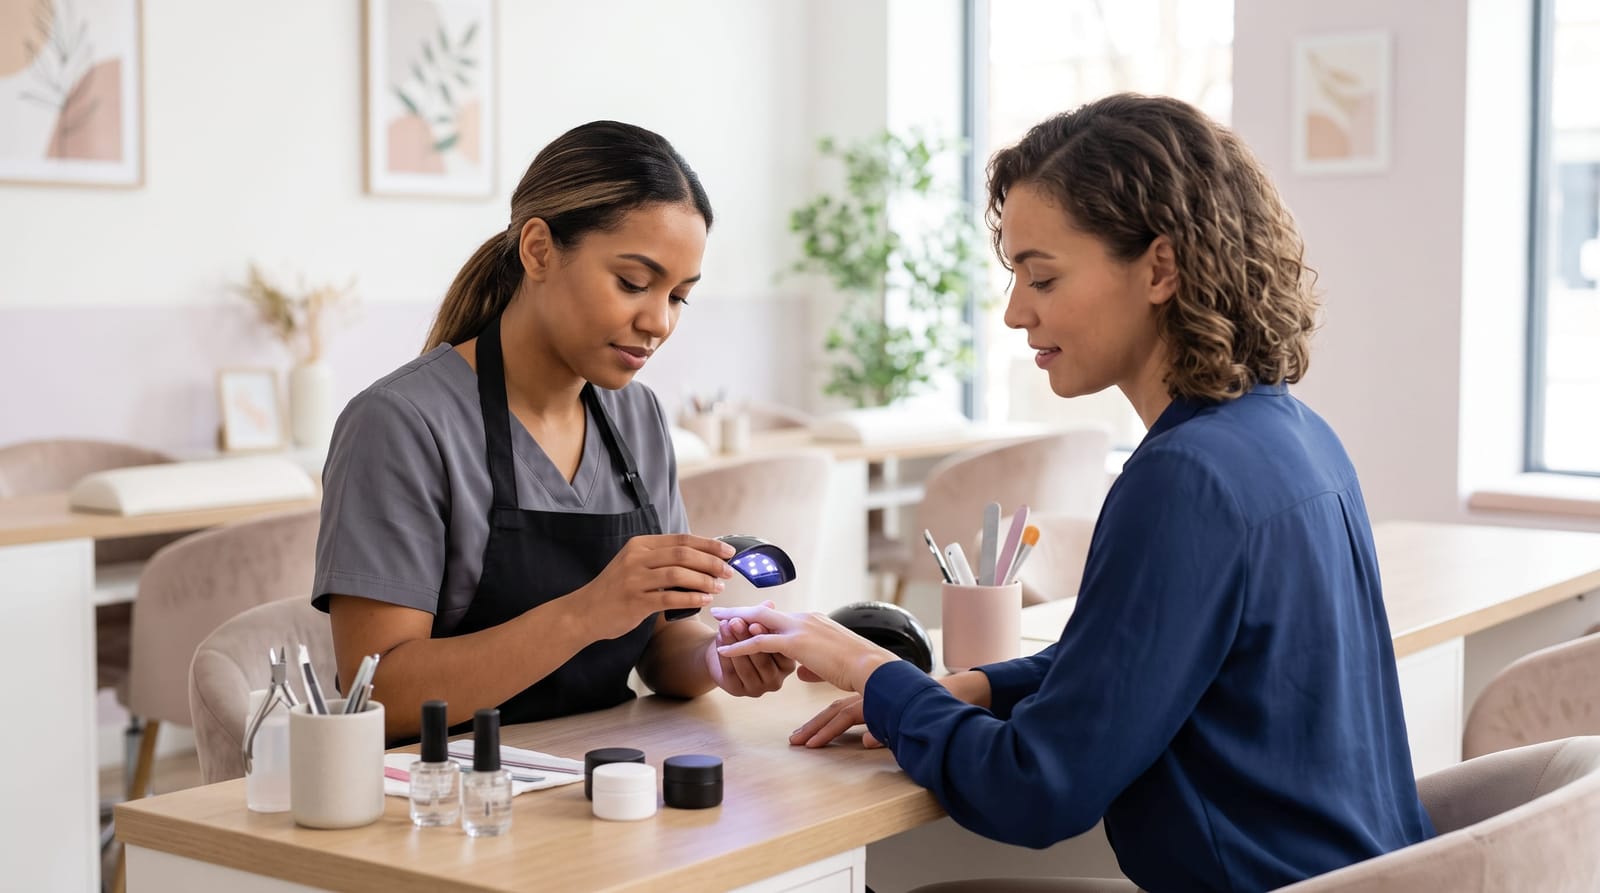
The tip is then placed at the correct angle at the base of the nail, pressed gently but firmly into position, and slid forward to ensure full contact with no air bubbles. Once positioned correctly, the nail goes under the UV/LED lamp for the initial cure: typically around 30 to 60 seconds depending on the lamp wattage. A standard 36 to 48-watt dual-source lamp is used for consistent, even curing across the nail.
Step 4: Sculpting, Shaping, and Refining
Once all 10 extensions are bonded and initially cured, sculpting begins. This is the step where artistry meets technique, and it's one of the things NailzByDelz genuinely excels at. Raw extensions are trimmed, shaped, and refined into the exact look you're going for.
What the Sculpting Process Looks Like
Sculpting during the GelX application process typically involves:
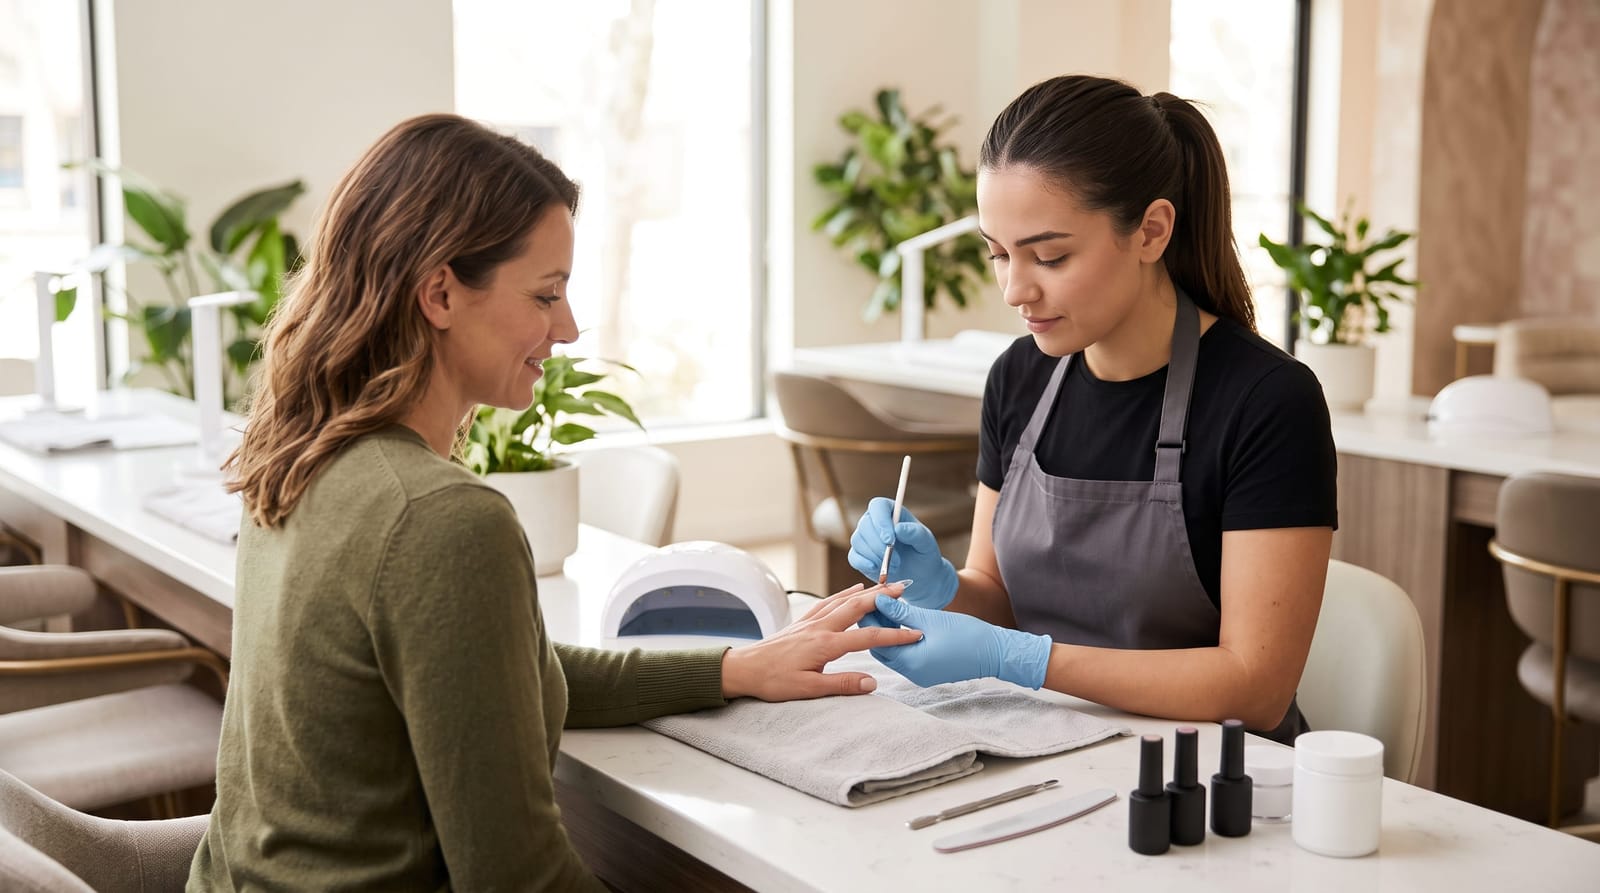
- Trimming to length: Extensions are clipped or filed down to your desired length, whether that's short and wearable or dramatically long.
- Shaping the free edge: The tip of the nail is shaped, square, round, oval, almond, or coffin, using a file and e-file (electric file) as needed.
- Refining the surface: The top of the extension is lightly smoothed to remove any unevenness and create a clean canvas for color or top coat.
- Checking symmetry: All 10 nails are compared for evenness in length, shape, and proportion.
This stage is where our speed-focused workflow really shows. With a practiced eye and efficient technique, sculpting a full set at NailzByDelz takes significantly less time than at salons where the workflow isn't as refined, without any compromise to the quality of the final shape. Clients often remark that the overall appointment feels shorter than expected, even for a full set.
Step 5: Color, Nail Art, and the Finishing Layers
With the extensions shaped and refined, it's time for the part most people think of first: color, design, and finishing. This phase of the GelX application process is completely customizable, from a clean, minimal look to detailed nail art, there's a wide spectrum of options.
Layer by Layer: How Color and Top Coat Work
Color application on GelX nails follows a structured sequence:
- Base coat: A gel base coat is applied over the sculpted extension and cured under the UV/LED lamp. This protects the extension and helps color adhere evenly.
- Color layers: Gel color polish is applied in 2 thin coats, with a cure cycle between each coat. Thin layers cure more evenly and produce a smoother finish than thick single coats.
- Nail art (if requested): Any designs, details, stamping, foils, or embellishments are added at this stage. Each element is cured as needed.
- Top coat: A gel top coat seals everything in and adds the final finish: glossy, satin, or matte depending on your preference. This layer also adds a layer of protection to the color beneath.
Every layer goes under the lamp. That's one of the hallmarks of the GelX application process: the curing is what creates the durability that soft gel extensions are known for. A typical full set with color takes between 60 and 90 minutes from start to finish at NailzByDelz.
Step 6: Final Inspection, Cleanup, and Cuticle Care
The last step before you leave the chair is a thorough final inspection and cleanup. A finished set of GelX nails should look clean, polished, and precise, and we don't skip this stage just because the main application is done.
What the Finishing Touches Include
- Cleanup around the cuticle line: Any gel that may have contacted the skin during application is removed carefully for a clean border.
- Cuticle oil application: Cuticle oil is massaged into each nail and the surrounding skin to hydrate and nourish after the prep work and curing process.
- Final shape check: Each nail is reviewed one more time for evenness, shape accuracy, and symmetry.
- Surface inspection: Top coat smoothness and finish are checked under good lighting before you leave.
This closing step is quick, usually just 5 minutes, but it's what separates a truly polished result from one that just looks "done." Understanding how long GelX nails last also starts here: a meticulous finish at the application stage directly supports a longer, cleaner wear period.
Related Details Worth Exploring
The GelX application process connects naturally to a few related topics that go deeper into specific parts of the experience. If you want to understand more about how the material itself works, and why it behaves differently than traditional gel polish or acrylics, our post on what is GelX nails covers the fundamentals in detail. We also go into fill schedules, maintenance timelines, and how to care for your set between appointments in our guide on how long GelX nails last.
What to Expect at Your Appointment
To put it all together, here's a quick summary of the full GelX application process timeline at NailzByDelz:
- Prep and cuticle work: 10-15 minutes
- Sizing and tip selection: 5-10 minutes
- Bonding and initial cure: 10-15 minutes
- Sculpting and shaping: 10-15 minutes
- Color, art, and top coat with curing: 20-30 minutes
- Final cleanup and cuticle care: 5 minutes
- Total for a full set with color: Approximately 60-90 minutes
Every step in the GelX application process is intentional. Nothing is rushed in a way that compromises the result, but the workflow is organized and efficient so your time is always respected.
Conclusion
The GelX application process at NailzByDelz is designed to be thorough, efficient, and genuinely enjoyable. From the very first prep step to the final cuticle oil massage, every part of the appointment is focused on giving you a set of extensions that looks beautiful, fits perfectly, and wears well. Now that you know exactly what to expect, booking your first GelX appointment doesn't have to feel like a leap of faith: it's just a well-executed process with a great result at the end. Ready to experience it in person? Book your GelX appointment at NailzByDelz in Liberty Lake and come in knowing exactly what's in store.