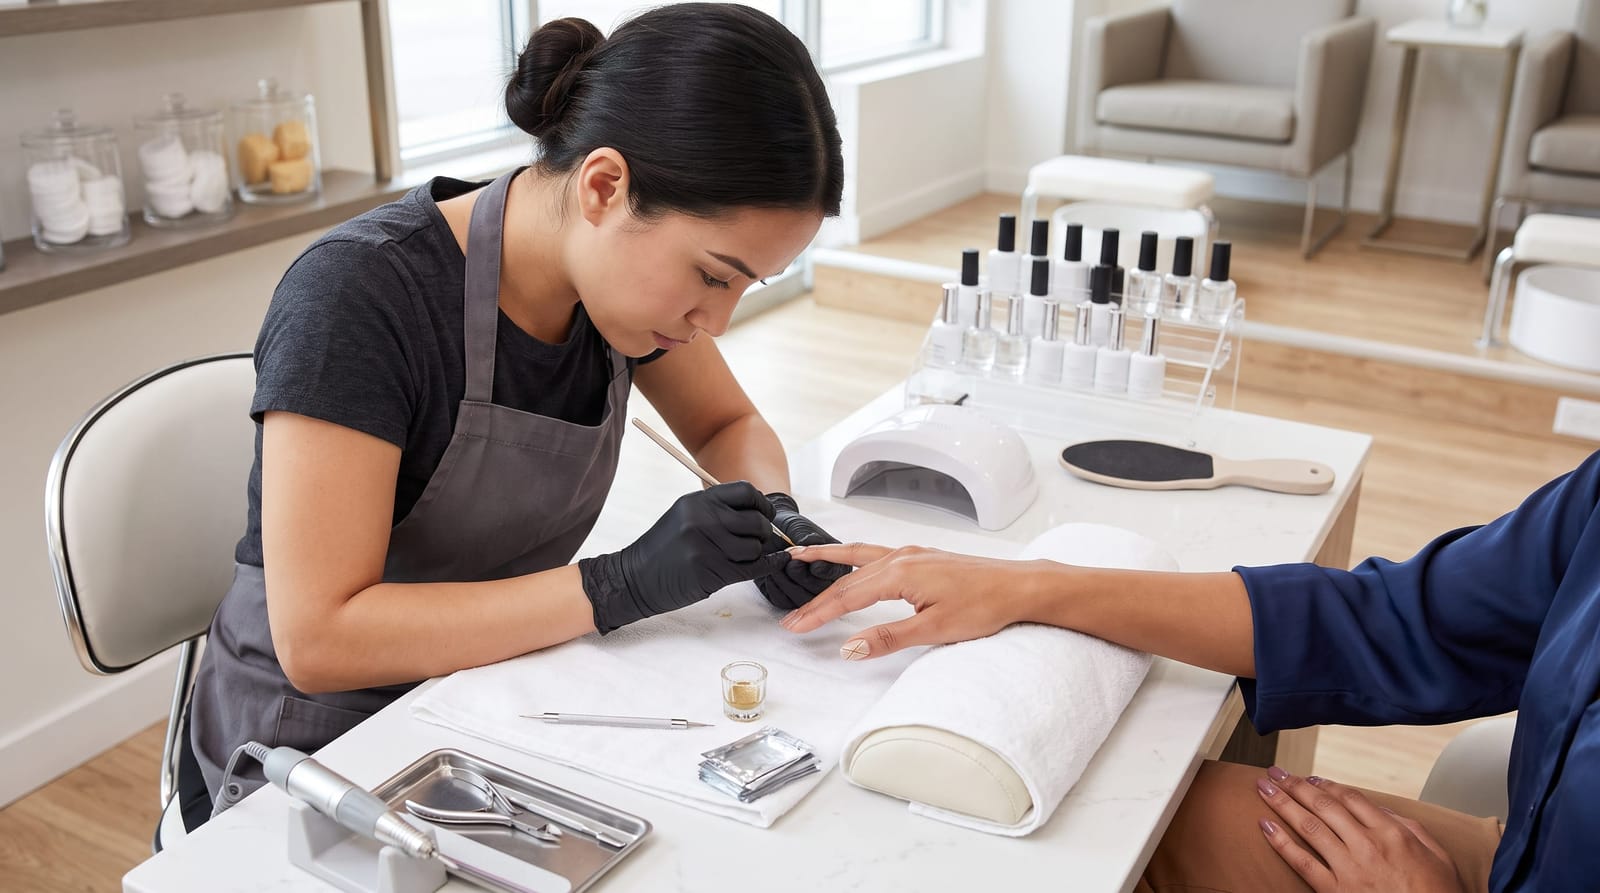
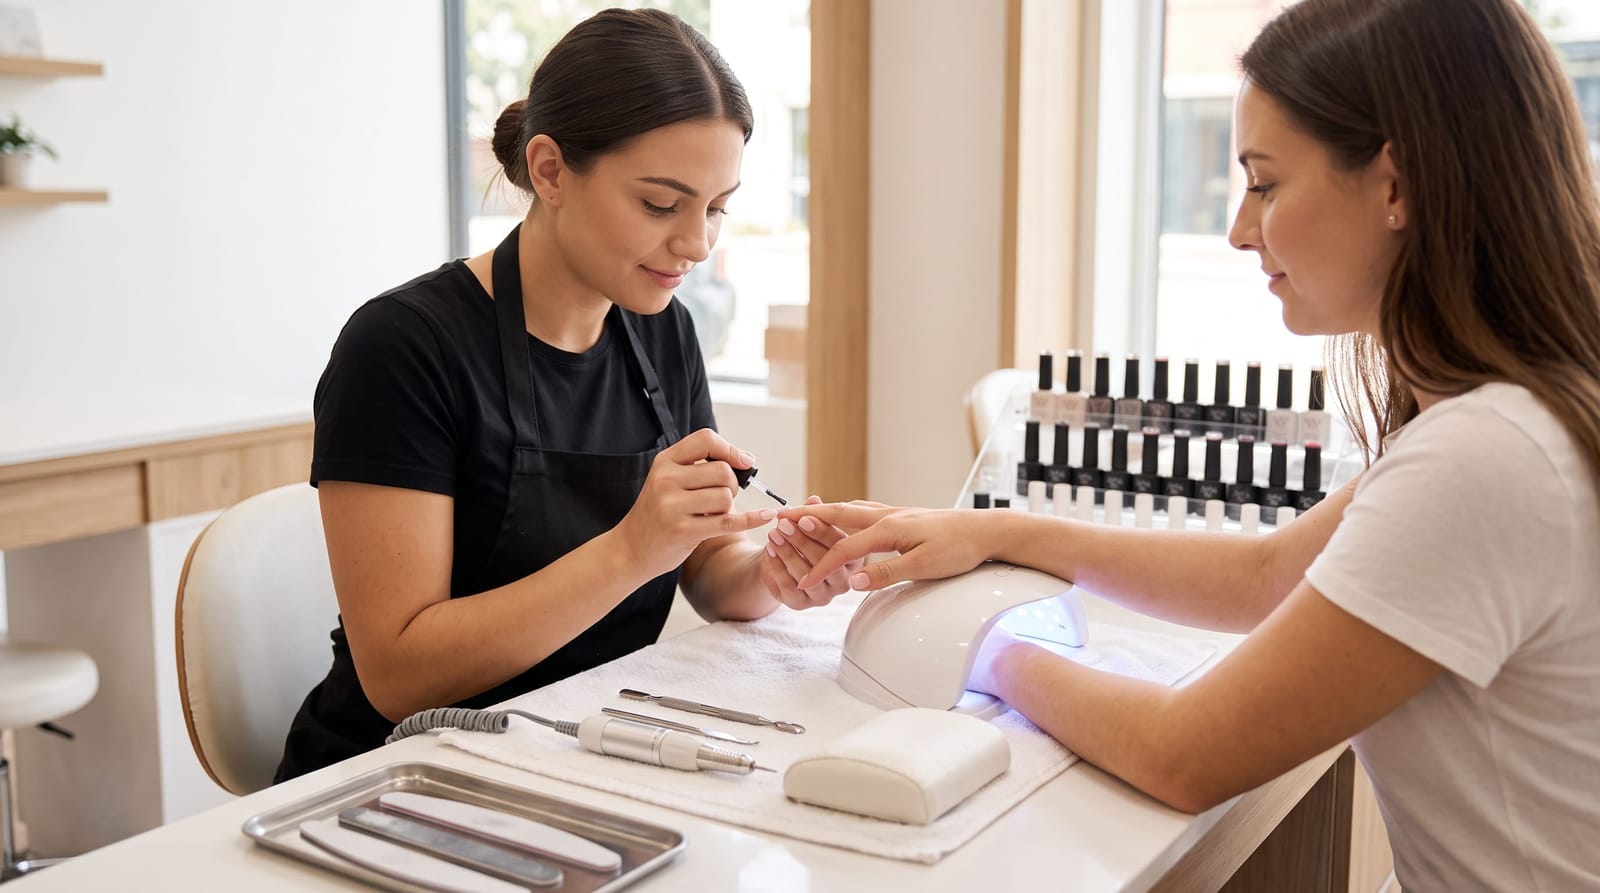
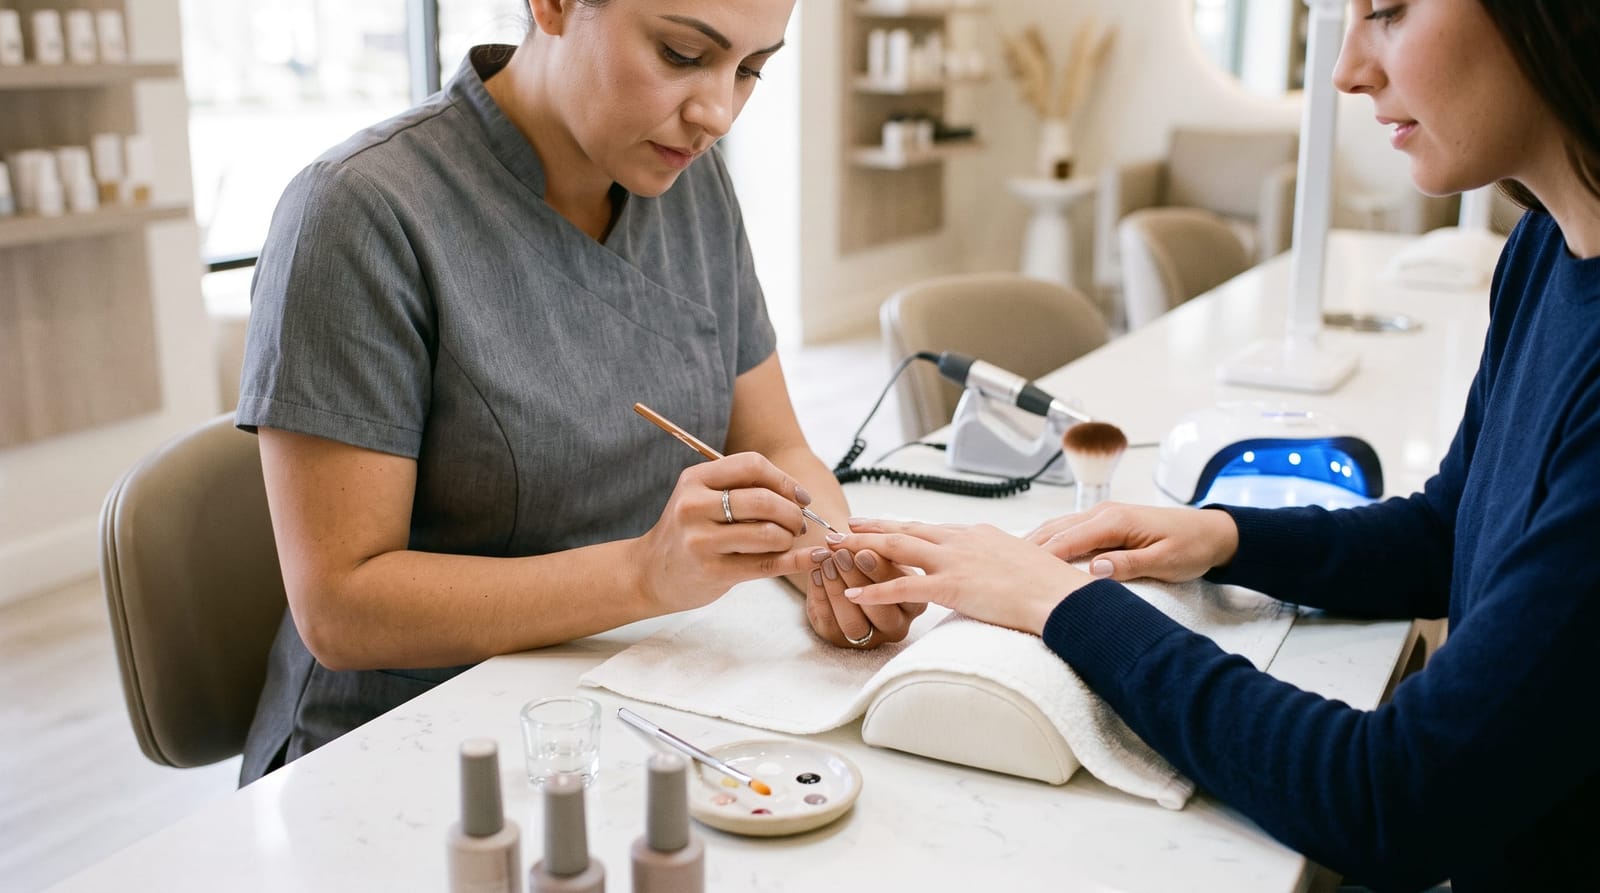
Custom Nail Art in Spokane Valley: A Complete Design and Appointment Guide
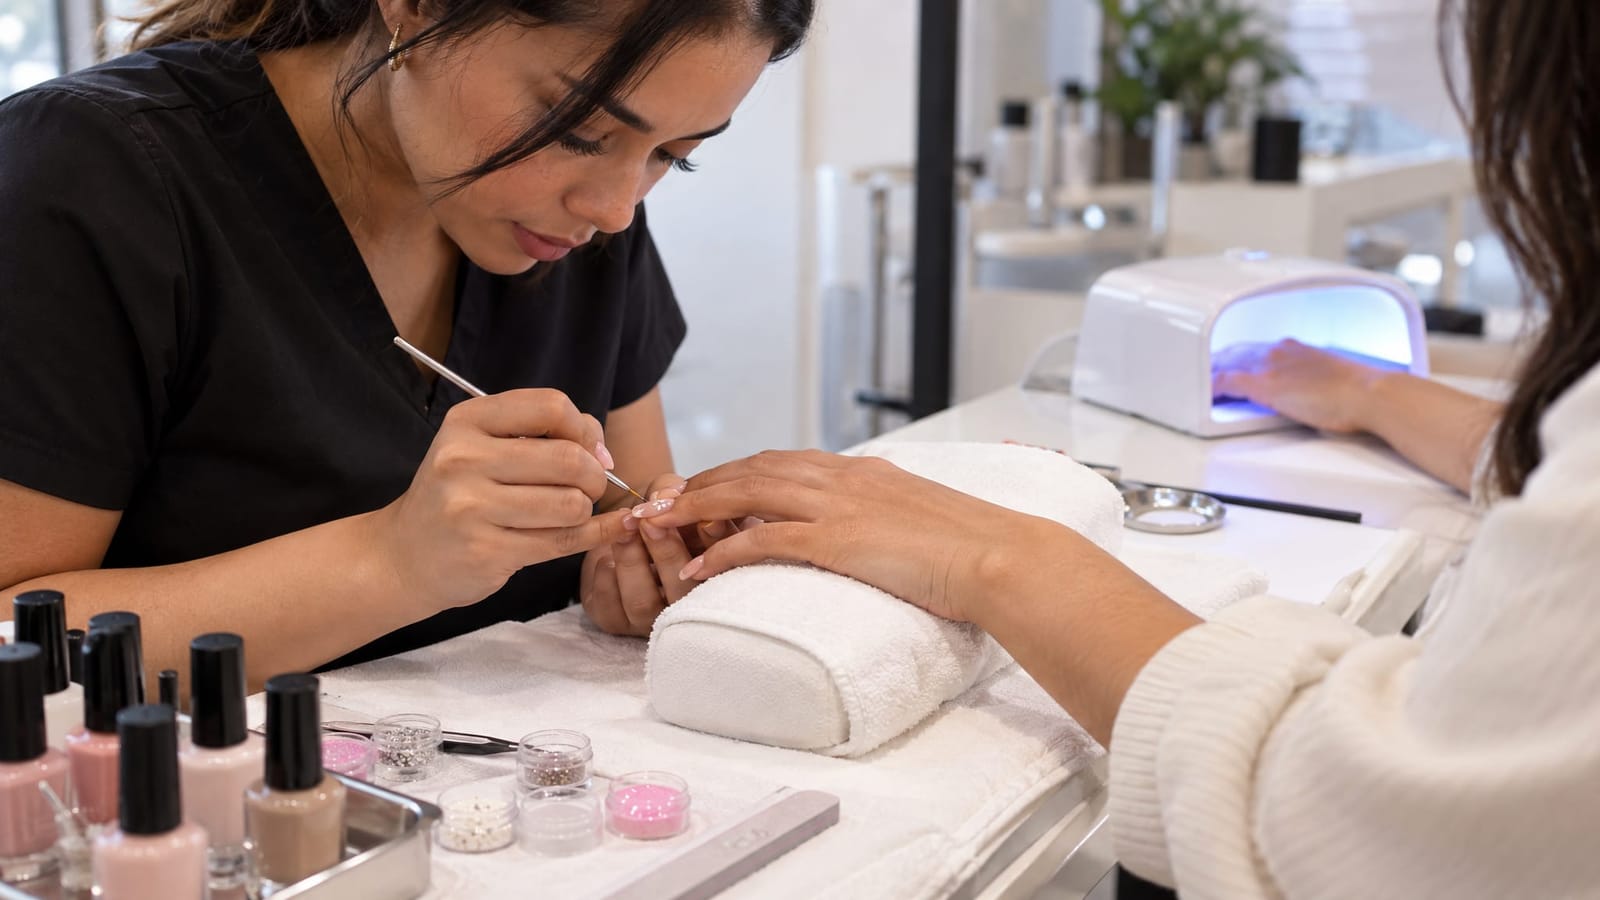
Custom nail art starts with your preferences, not a requirement to wear long nails or a dramatic design. It can be a fine French tip, a small hand-painted flower, a soft ombre blend, or a colorful set with different artwork on every nail. The key is choosing a design that works with your preferred length, shape, finish, and everyday routine.
When choosing a custom nail art salon, think about both the artwork and the nail underneath it. This guide explains the main options, how sculpting shapes the space for a design, what to save for inspiration, and how to prepare for an appointment with a clear, workable idea.
What Makes Nail Art Custom?
Custom nail art is artwork adapted to you rather than copied without changes from a standard design. That might mean adjusting the colors in an inspiration photo, making a pattern simpler for shorter nails, or combining a favorite French tip with a small accent.
A useful way to plan your set is to separate two decisions:
- The foundation: your natural nails, a gel manicure, or an enhancement that adds structure or length.
- The artwork: the colors, painted details, gradients, decals, and finishes placed over that foundation.
These decisions influence each other, but they are not the same thing. Acrylic nails do not have to feature bold artwork, and a short manicure does not have to be plain.
At NailzByDelz Corp in Spokane Valley, we offer hand-painted custom nail art, ombre nails, French manicures, nail decals, gel manicures, acrylic nails, and sculpted nails. Our hand-painted designs range from a single accent nail to a full painted set. A regular manicure with a restrained detail belongs in that range just as much as a statement design.
Explore the Styles and Techniques Behind Your Inspiration
Style describes the overall look. Technique describes how it is created. Knowing the difference helps you explain what you like without needing to know every nail term.
Hand-Painted Art: Personal Details and Flexible Placement
Hand-painted nail art is created with brushes rather than transferred as a finished image. It works well for lines, flowers, abstract shapes, lettering, and other details that need individual placement.
The main design decision is how much detail belongs on each nail. A small daisy with open space around it reads differently from a layered floral pattern. Neither is automatically better. The first gives a clear focal point, while the second creates a fuller, more decorative effect.
For a balanced set, detailed artwork can sit beside nails painted in a coordinating solid color. This gives the eye somewhere to rest and makes the illustrated details easier to notice.
French Tips and Minimal Art: Custom Without Looking Busy
A French manicure uses a contrasting tip, but the result does not have to be a traditional white tip over a sheer base. Color, line thickness, and the curve of the tip all change the look.
A narrow burgundy tip feels different from a wide white tip, even when the nail shape stays the same. A curved side line, tiny dot, or small accent can add personality without covering the whole nail.
If “too dramatic” is your main concern, start with a sheer or neutral base and choose one feature to customize. Keeping the length, palette, and detail restrained makes the design easier to edit than beginning with a busy reference photo and trying to remove pieces later.
Ombre: A Blend Rather Than a Hard Edge
Ombre nails transition gradually between colors instead of separating them with a crisp line. Closely related shades create a quieter effect. A larger contrast makes the transition more noticeable.
Placement matters, too. Color can become deeper toward the tip, fade toward the base, or move across the nail. When saving an ombre photo, note both the colors and the direction of the blend.
We offer ombre nails as part of our design options. For a softer look, the blend can be the main feature. If you prefer added artwork, leaving some blended areas visible keeps the gradient from disappearing beneath the details.
Glitter and Metallic Finishes: Let the Finish Do Some of the Work
Glitter adds visible sparkle, while metallic finishes create a reflective, metal-like appearance. Both can make a simple design feel more decorative without adding a complicated pattern.
Our designs include glitter accents and metallic looks. When choosing between inspiration images, pay attention to whether you like the color itself or the way it catches the light.
For a quieter combination, use sparkle as an accent beside a solid shade. For a more expressive set, repeat the finish across the nails and keep the painted artwork simpler. Lighting changes how reflective finishes appear in photographs, so an image is best used to communicate the effect you want rather than an exact screen color.
Nail Decals: Defined Motifs With Planned Placement
A nail decal is a prepared decorative image applied to the nail. It differs from hand painting because the motif already exists before it is placed.
We offer nail decals as another way to add artwork. The important choices are the size of the image, where it sits, and how it relates to the surrounding polish. A small decal can become the focal point of a short nail, while a larger motif may leave little room for other details.
Think about the background as part of the design. A detailed image can be easier to distinguish over a simple color than over an equally busy pattern.
Recognizing Stamping and 3D Details in Reference Photos
Some inspiration photos show stamping, which transfers a pattern from an engraved plate, or 3D art, which rises above the nail surface. These are different from a flat painted design, even when the colors and motifs look similar.
If an image catches your attention, identify whether you like its pattern, its texture, or both. A raised bow and a painted bow share a theme, but they feel different during everyday wear. Likewise, a repeated stamped pattern has a different visual character from individually painted details.
This distinction helps separate the essential idea from the exact construction shown in a photo. A favorite motif can inspire a design without requiring every material or effect in the original image.
Match the Artwork to Your Base, Length, and Shape
Natural Nails and Gel Manicures
Your existing nails can provide the foundation for custom art. Short nails often suit narrow French tips, small flowers, fine lines, dots, and simple abstract shapes because those elements remain easy to distinguish in a compact space.
A gel manicure describes a polish service, not necessarily added length. Gel polish and a structured gel enhancement are different things, so “gel nails” alone may not fully describe the foundation pictured in an inspiration image.
We offer both manicures and gel manicures. If your goal is to keep your current length, make that part of the design brief from the start. The artwork can then be scaled to your nails instead of planned around an extension you do not want.
Acrylic and Sculpted Nails
Acrylic enhancements can change the nail’s length and shape, giving you more control over the outline beneath the artwork. We offer acrylic sets and use sculpting techniques to build the chosen shape.
Sculpting creates the nail’s structure. It does not create the artwork by itself, but it affects the surface on which that artwork sits. A longer nail can provide more room for separated details, while a tapered shape changes how a pattern narrows toward the tip.
The useful question is not simply, “Will longer nails allow more art?” It is, “Does this design need more space, and will I enjoy wearing that length?” A small motif may look more intentional on a shorter set than stretched across extra length.
How Sculpting Supports Detailed Artistry
A design reads as a combination of shape and decoration. The outline, curve, and surface of a sculpted nail influence where lines sit, how a French tip follows the edge, and how repeating elements line up across the set.
For example, an elongated floral design needs room between its petals and leaves to remain distinct. A sculpted extension can provide that space, but simplifying the floral design is another valid solution. Added length is a design option, not a requirement for detailed work.
This is why shape is worth deciding before the artwork is finalized. Changing from a broad square tip to a pointed tip changes the space available at the end of the nail.
Choose Shape for Both Appearance and Routine
- Round: a curved outline that pairs naturally with small, soft-edged motifs.
- Square: a straighter edge that can support graphic lines and defined French tips.
- Almond: a tapered outline with a rounded point, often paired with flowing lines and lengthwise designs.
- Stiletto: a pointed shape that makes the silhouette itself a prominent part of the look.
Shape also interacts with length. If you prefer very short nails, a subtly rounded outline may fit that preference better than trying to reproduce a sharply tapered shape from a long extension photo. Typing, handling small objects, and other daily tasks are useful considerations when choosing how much length feels practical.
Build an Inspiration Brief Before Your Appointment
A useful design brief does not need professional terminology. It needs a few clear preferences and an explanation of what matters most.
-
Choose the overall mood.
Start with words such as soft, graphic, colorful, understated, floral, or reflective. These describe the direction before you get caught up in individual details.
-
Save a small, focused group of images.
Select images that contribute something specific. One might show the shape, another the palette, and another the artwork. A large collection of unrelated sets can make the main idea harder to identify.
-
Explain what you like in each image.
“The colors, but not the length” is more useful than presenting a photo without context. Also note anything you do not want, such as raised texture, heavy glitter, or artwork on every nail.
-
Identify your priority detail.
Decide which part makes the design feel like yours. It might be a particular flower, a soft blend, or a fine colored tip. Other details can then be adjusted without losing the main idea.
-
Include your current nails and desired foundation.
A clear photo of your current nails, along with information about existing polish or enhancements, helps communicate the starting point. Include whether you want to keep your length or add extensions.
A concise brief could sound like this: “I want short, rounded nails with a sheer pink base. I like the small white flowers in this photo, but only as accents. I want the surface smooth, without raised decorations.”
Another could be: “I like this almond shape and burgundy palette. The glitter is the main feature, so I would rather keep the painted details simple.”
Both descriptions give a clear direction while leaving room to adapt the design to the finished nail shape.
Balance the Design Across the Whole Set
A close-up of one beautiful nail does not always explain how the entire set will work. Before choosing every detail, decide whether you want repetition, accent placement, or a different design on each nail.
Repeat a Detail for a Unified Look
Repeating the same tip color, line style, or small motif ties the set together. This works especially well when you want custom art that still feels quiet and consistent.
Use Accents to Focus Attention
Accent nails let a detailed element stand out beside simpler nails. A painted flower beside coordinated solid colors gives the flower more emphasis than placing equally detailed patterns everywhere.
Connect Mixed Designs With a Shared Palette
Different artwork on each nail can still feel cohesive when it shares colors, line thickness, or a recurring shape. If you combine flowers, swirls, and French tips, a consistent palette gives those elements something in common.
For a wedding or another event, consider whether you want the nails to echo a specific detail or simply complement the overall look. Matching every element exactly can make the design more complicated without making it more personal. We offer a bridal package, and the artwork itself can remain subtle or become a more expressive part of the occasion.
What to Expect During a Custom Nail Art Session
The sequence depends on the starting condition of the nails and the service selected, but a custom set generally brings together these stages:
- Design review: the inspiration, length, shape, colors, and distribution of artwork are discussed together.
- Removal and preparation: existing product is addressed as needed, and the nails are prepared for the selected service.
- Foundation and shaping: the natural nails are shaped, or the chosen enhancement is created.
- Color and artwork: the base color, blends, painted details, or decals are applied in an order suited to the design.
- Finishing: the design receives the appropriate finish, with care guidance suited to the products and details used.
The easiest time to adjust the overall plan is before detailed artwork begins. If a color feels too bright or the chosen length feels different from what you imagined, explaining that early keeps the discussion focused.
A reference image is a direction rather than a stencil for every nail. Differences in nail width, length, and shape can change the spacing of a motif. Adapting those proportions helps preserve the idea instead of forcing the image into an unsuitable space.
What Affects Appointment Time and Price?
“How much?” and “How long?” are easier to answer when the service is described beyond “custom art.” The design’s scope includes the foundation as well as the decoration.
Useful details for a time and price estimate include:
- Whether existing polish or enhancements need removal.
- Whether you want a manicure, gel manicure, acrylic set, or added length.
- The desired nail shape and length.
- Whether the artwork is an accent or covers the full set.
- How much fine painting, blending, or layering the design involves.
- Whether a nail needs repair before the set is completed.
Visual boldness is not a reliable measure of complexity. A bright solid color may involve less artwork than a delicate design with many fine lines. Likewise, short nails can still carry time-intensive detail.
If keeping the appointment or design scope simpler matters, preserve the main feature and reduce the supporting artwork. A detailed accent beside coordinating polish can retain the idea without repeating the same painting across the entire set.
For a visit from Spokane, Liberty Lake, or Coeur d’Alene, separate travel time from appointment time when planning your day. Our salon is based in Spokane Valley on South Howe Road. Removal, shaping, and artwork all belong in the appointment plan, not just the time spent painting the final details.
Care for the Finished Artwork Between Appointments
Everyday habits affect how a finished manicure looks over time. Use fingertips rather than nail tips to open packaging, and wear gloves for cleaning or prolonged wet tasks. These habits help limit unnecessary wear without requiring a complicated routine.
Flat painted designs and raised decorations also need different consideration. A smooth design has no raised detail to catch on fabric, while textured elements can require more attention during dressing and daily tasks.
If the finish changes, avoid peeling away product or trying to remove decorative layers by force. Removal methods depend on the product underneath the art. We offer polish removal and nail repair as separate services.
When a small area chips, a clear photograph can help communicate whether the issue involves the artwork, the edge, or the nail’s structure. Whether a repair or a fresh design makes more sense depends on the condition and construction of the set.
Deep Dive Topics: Find Ideas for Your Next Design Decision
Use these focused guides when you know the general direction but want more detail about the style or foundation:
- Personal style and manageable details: Explore nail design for teens for inspiration that balances playful colors and motifs with practical length and everyday wear.
- Colors and motifs through the year: Browse seasonal nail design ideas to build a palette around the season without feeling limited to familiar holiday symbols.
- Planning enhancements and artwork together: The guide to nail art on acrylic set looks at combining the foundation and decoration within an appointment.
- Making a compact design feel intentional: Explore the best nail designs for short nails for ideas centered on scale, spacing, and clear focal points.
- Considering a gel foundation instead of acrylic: Learn about nail art on gel hard overlay when comparing ways to combine a structured base with decorative work.
A Clear Idea Matters More Than a Complicated Design
The strongest starting point for custom nail art is a length you enjoy wearing, a shape that suits the artwork, and a few details you genuinely like. A focused set of reference images and clear notes about your priorities make the design easier to discuss and adapt.
You do not need to fit every saved idea onto one set. A small painted accent, a carefully chosen blend, or a full artistic composition can all feel personal. The goal is a design whose details work together and feel like you.